

How To Sharpen Urban Decay Eyeliner?
When it comes to eye makeup, there’s nothing quite like the confidence boost a well-defined eyeliner brings. And if you are a fan of urban chic with a twist of glam, Urban Decay Eyeliner is likely a staple in your beauty bag. However, even the best eyeliners need a little TLC—especially when they lose that perfect point. Don’t worry, sweetie! I’m here to guide you on how to sharpen Urban Decay eyeliner like a pro, so you can keep your eye game sharp and your look flawless.
Understanding Urban Decay Eyeliner Types
Urban Decay offers a delightful array of eyeliners, and each type has its own quirks. Knowing which type you’re dealing with will help you figure out the best sharpening method. Here’s a quick rundown:
Pencil Eyeliners
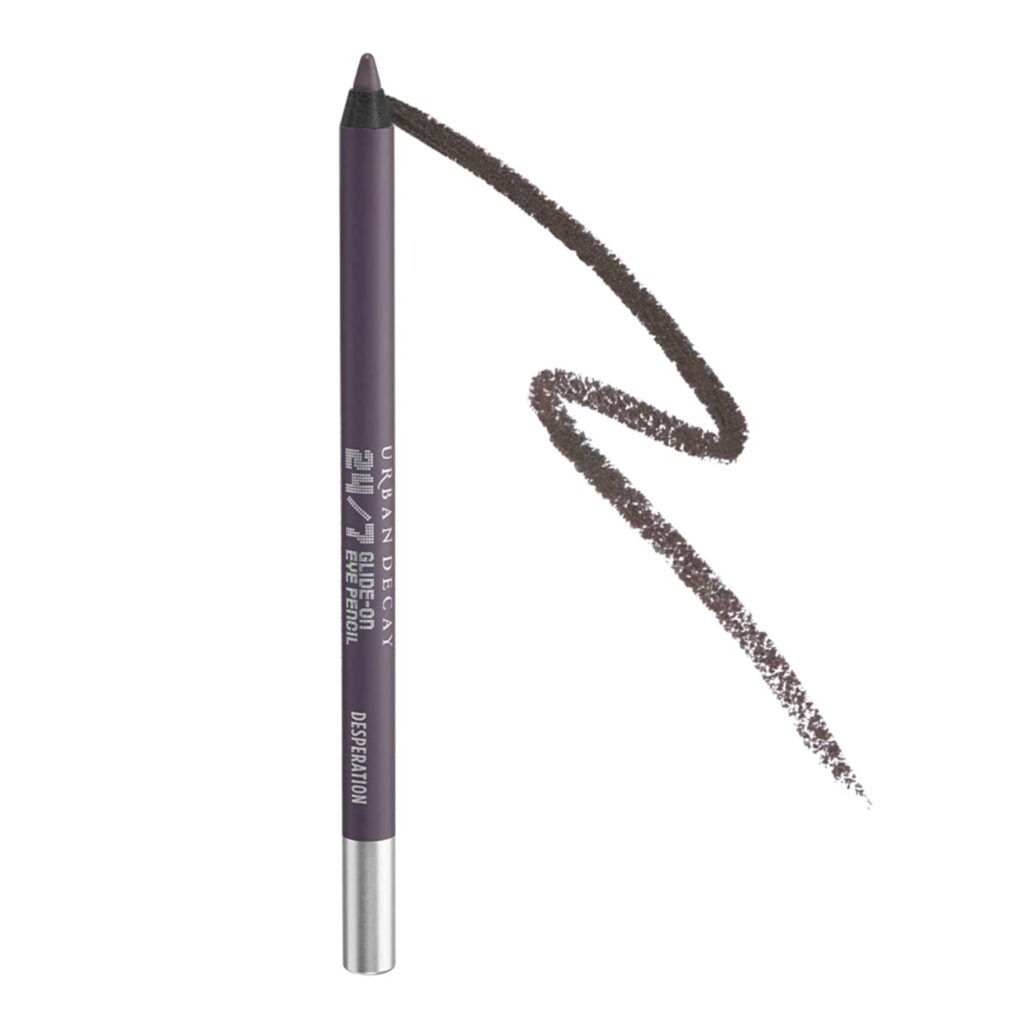
These are your classic beauties. Urban Decay’s 24/7 Glide-On Eye Pencil is a fabulously creamy option that glides on like a dream but can need a good sharpen every now and then.
Retractable Eyeliners
If you’re more into the click-and-go type liners, Urban Decay also has retractable options like the 24/7 Waterline Eye Pencil that don’t require sharpening—just twist and slay!
Gel Eyeliners
For those of you who prefer a gel formula, Urban Decay has shimmering gel eyeliners that create a bold look. These typically come in a pot and require a brush for application, so no sharpening here!
Understanding which one you have is essential for mastering the art of sharpening. Now, let’s dive into the make-up mechanics of how to sharpen Urban Decay eyeliner pencils properly.
The Right Tools For Sharpening

Sharpening isn’t just about taking a blade to your liner; it’s an art! The right tools make all the difference. Here’s what you need:
Eyeliner Sharpener
Urban Decay offers their own special sharpeners that are designed to work perfectly with their pencils. You can find them online or in stores. If you want to save some cash, any good-quality dual sharpener will do.
Makeup Wipes
Keep some makeup wipes handy—it’s inevitable that you may end up with a tiny mess or two. Clean workspace = happy eyeliner sharpening.
Tissues
These are essential for wiping the blade in between uses. No one wants product buildup!
Work Surface
Find a clean, flat space where you can see what you’re doing. Good lighting helps too, darling!
How To Sharpen Urban Decay Eyeliner Step-By-Step
Now that you’ve got your tools ready, let’s talk about the how to sharpen Urban Decay eyeliner step by step.
Step 1: Clean the Sharpener
Before you jump in, take a moment to clean your sharpener. Wipe the blades gently with a tissue or alcohol wipe to remove any old makeup residue. You want a fresh start!
Step 2: Insert the Pencil
Carefully insert the Urban Decay eyeliner pencil into the sharpener’s opening. It should fit snugly but not too tight—if it feels congested, switch to another sharpener.
Step 3: Twist Gently
With a soft grip, twist the pencil in the sharpener. Don’t do it too hard, or you risk breaking the tip! Gentle pressure is key—this isn’t a race.
Step 4: Check the Point
After a few twists, check the point. You want a fine tip, not a dagger! If it’s still too blunt, a few more twists may be needed.
Step 5: Clean Up
Remove the excess shavings from your workspace, and use a makeup wipe or tissue to clean around the sharpener. A tidy station makes for a happy makeup moment.
Step 6: Test Your Liner
Once you’ve achieved that fabulous point, give your eyeliner a quick test on the back of your hand. If it glides easily and provides that gorgeous color payoff, you’re ready to get glam!
How To Maintain Your Urban Decay Eyeliner
Keeping your eyeliner sharp is crucial, but also look after it, darling! Here are some tips on how to maintain Urban Decay eyeliner:
Store Properly
Keep your eyeliners in a cool, dry place to prevent them from becoming too dry or too soft. Avoid direct sunlight—no one likes an overheated eyeliner!
Sharpen Regularly
Frequent sharpening helps maintain the product’s integrity. Aim for a sharpen before every makeup session, especially if you love that precise look!
Avoid Drying Out
Pencils can dry out if left uncapped. Never leave your liners without their caps for extended periods. This simple step is a game-changer!
Troubleshooting Common Sharpening Issues
Even the brightest stars have their flaws! Here are some common issues you might face when trying to learn how to sharpen Urban Decay eyeliner and how to fix them.
The Pencil Breaks
If your perfect pencil keeps breaking at the tip, you might be applying too much pressure while sharpening. Lighten your grip and try again.
Uneven Tip
An uneven sharpen can lead to higher drama than you’d want. If you find your eyeliner isn’t sharp on both sides, take a moment to rotate the pencil as you sharpen.
Shavings Everywhere
Makeup shavings can get messy, and let’s be real—no one wants that! Use a small dish to catch shavings or sharpen over the sink for a less dramatic clean-up.
Benefits of Proper Eyeliner Maintenance
In the world of cosmetics, every product deserves a little pampering. Here’s why you should prioritize maintaining your Urban Decay eyeliner:
Longer Product Life
Proper maintenance not only enhances your makeup application but also extends the life of your favorite eyeliner. Who doesn’t want a little more bang for their buck?
Better Application
A well-sharpened liner glides on better and provides cleaner lines. Say goodbye to uneven eyes and hello to the flawless look we all crave!
Enhanced Pigment
A sharp tip allows for better color deposit, giving you a richer, bolder effect that lasts all day. Trust me, your eyes will thank you!
Conclusion on How To Sharpen Urban Decay Eyeliner
There you have it, beauties! Mastering how to sharpen Urban Decay eyeliner not only helps you maintain your favorite product but elevates your whole makeup game. Whether you’re going for an everyday look or a bold, smoky eye, a well-sharpened liner is your best friend. Embrace this newfound skill, and watch how it transforms your makeup routine!
For more tips on makeup maintenance, check out these fabulous resources: Urban Decay Official Site and Makeup.com. Let’s keep those eyes looking flawless, darling!


