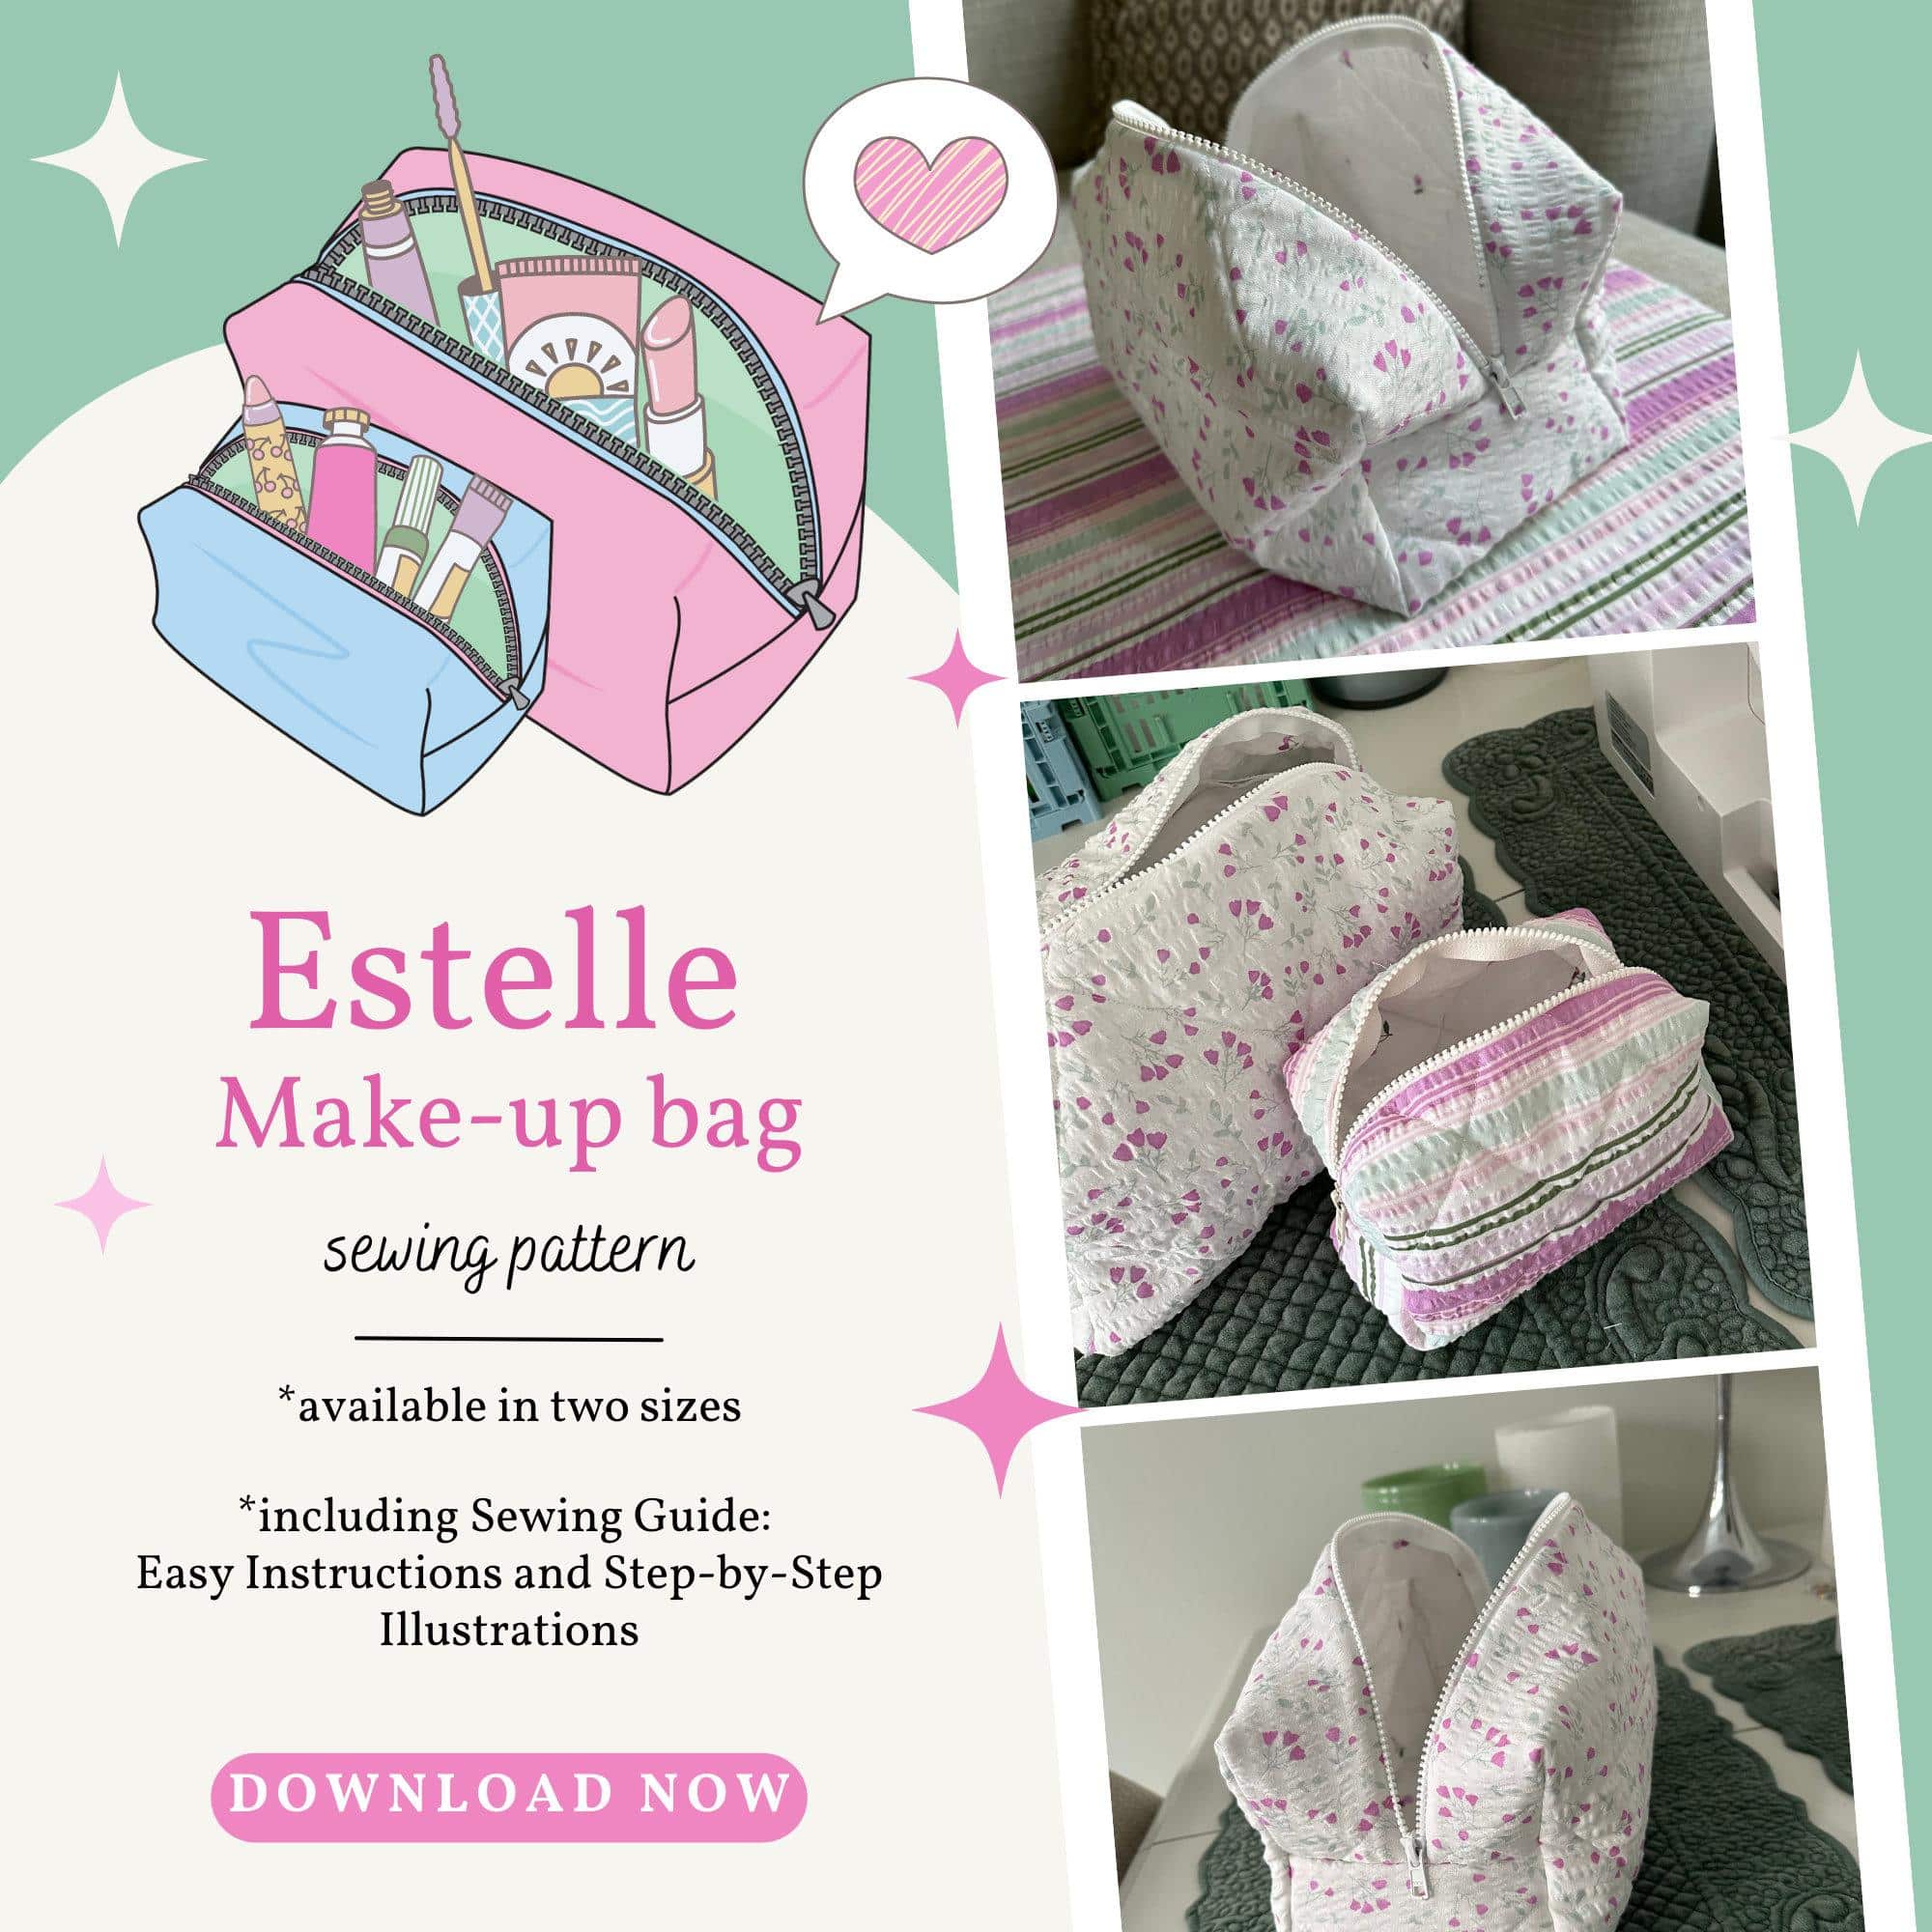
Sewing your own makeup bag can be an exciting and rewarding project, perfect for adding a personal touch to your beauty routine! Whether you want a cute pouch to take on-the-go or need something stylish to keep your makeup organized at home, learning how to sew a makeup bag is a fabulous and crafty way to express your creativity. In this guide, we will explore everything you need to know about how to sew a makeup bag, from choosing the right materials to the step-by-step sewing process that will have you flaunting your handmade creation in no time.
Selecting the Perfect Materials
When it comes to how to sew a makeup bag, choosing the right materials is crucial for both functionality and style. Let’s delve into some must-have supplies:
Fabrics
Cotton Fabric: Soft, easy to sew, and available in countless prints and colors, cotton is an ideal choice for your makeup bag.
Canvas: For a sturdier option, canvas is durable and holds up well against daily wear and tear.
Water-Resistant Fabrics: To prevent spills from ruining your makeup bag, consider using polyurethane or laminated cotton. These materials offer a stylish solution while keeping your products safe.
Additional Supplies
Zipper: A stylish zipper is essential for keeping your cosmetics secure. Choose a color that complements your fabric!
Thread: Make sure to pick a thread color that matches your fabric to keep everything looking polished.
Sewing Machine: If you don’t own a sewing machine, you can opt for a handheld one or even sew by hand for smaller projects.
Scissors: Sharp fabric scissors will make cutting your materials a breeze.
Measuring Tape: Accurate measurements are key in sewing, so don’t skip this.
Pins: Pins will help you secure your fabric pieces before sewing.
Preparing Your Design
Now that we’ve picked out the materials, it’s time to get creative! Thinking about the layout and design of your makeup bag will enhance the overall outcome of your project.
Dimensions and Shape
Before diving into sewing, you should sketch out your design. The dimensions of the bag can vary based on what you envision. Here are some standard measurements you might consider:
| Type of Bag | Dimensions (Length x Width x Height) |
| Flat Makeup Bag | 8″ x 5″ x 1″ |
| Medium Makeup Bag | 10″ x 6″ x 3″ |
| Large Makeup Bag | 12″ x 8″ x 4″ |
Creative Additions
Pockets: Adding inside pockets can help organize small items like lipsticks or brushes.
Lining: Consider using a contrasting or patterned fabric for the lining, giving your bag a fun pop when you open it!
Personal Touch: Embellishments like patches, embroidery, or even a little charm can make your bag uniquely yours.
Cutting the Fabric Pieces
Time to get your scissors! For how to sew a makeup bag, precise cutting is essential for a flawless finish. Here’s how to get started:
- Measurements: Use your measuring tape to mark your dimensions on the fabric.
- Cutting: Carefully cut your fabric pieces according to your design. Make sure to include seam allowances (typically 1/4 to 1/2 inch).
- Lining and Interfacing: Don’t forget to cut the same pieces for the lining and add interfacing if extra structure is needed.
Assembling the Makeup Bag
With your fabric pieces prepared, it’s showtime! Let’s assemble your makeup bag step by step:
Step 1: Attach the Zipper
- Position the Zipper: Place the zipper between the outer fabric and lining fabric with the right sides facing each other. Pin in place.
- Sew the Zipper: Using a zipper foot on your sewing machine, sew along both edges of the zipper. This will create a neat finish!
Step 2: Create the Bag Body
- Sew the Sides: With the zipper attached, fold the outer fabric down and pin the sides together. Sew the edges together, leaving the bottom open for a flat appearance.
- Repeat for Lining: Do the same for the lining but leave a small gap in one side for turning.
Step 3: Turning the Bag
- Turn It Right-Side Out: This is the most satisfying part. Pull the outer fabric through the gap in the lining, flipping the bag right-side out.
- Close the Gap: Sew the gap in the lining closed either by hand stitching or sewing if you desire a quick fix.
Step 4: Final Touches
- Press the Edges: Make sure to press well, giving your bag a crisp, professional look.
- Top Stitching: Optional but recommended! A top stitch can add extra flair and durability to the zipper area.
Caring for Your Makeup Bag
Once you’ve mastered how to sew a makeup bag, you’ll want to keep it in tip-top shape! Here’s how to care for it:
Spot Clean: For daily maintenance, a simple spot clean with a damp cloth can do wonders.
Hand Wash: If it needs a deeper clean, hand wash with mild soap and water, laying it flat to dry.
* Storage: Keep your makeup bag away from direct sunlight to avoid fading.
Conclusion
Creating your own makeup bag is a delightful project that combines creativity and functionality. By learning how to sew a makeup bag, you’re not just gaining a new skill but also getting a stylish accessory that reflects your personality. So grab your materials, channel your inner designer, and let those sewing skills shine! For more sewing inspiration, consider checking out these fabulous resources: Sewing.org and All People Quilt. Happy sewing, and may your makeup bag be as fab as you are!