 heat damaged hair repair”>
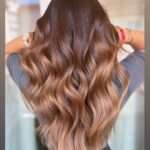
How To Repair Heat Damaged Hair? The struggle is all too real for so many of us! One minute, you’re at the salon getting that trendy blowout, and the next, your hair is looking like it survived a wildfire. But fear not, lovely ladies! With a bit of love, patience, and some stellar restoration strategies, we can turn that fried fuss back into fabulous locks. Let’s dive into the wonderful world of hair repair, shall we?
Understanding Heat Damage and Its Effects
Heat damaged hair can feel like an affliction only reserved for hair enthusiasts who couldn’t resist the allure of heat styling tools. When the hair is exposed to high temperatures, the protective cuticle layer becomes compromised, leading to breakage, split ends, and a lackluster appearance. So, how can we all prevent our luscious locks from becoming straw-like? The answer is here – we must first understand the signs of heat damage!
Signs of Heat Damaged Hair
Before you can tackle the issue, it’s crucial to recognize the signs. Grab your hairbrush and check for the following:
- Split Ends: This is the classic tell-tale sign! If those ends are fraying like a worn-out pair of tights, it’s time to take action.
- Dryness: Is your hair feeling stiff, and exhibiting a thousand tiny frizzies? Yep, that’s the damage talking.
- Lack of Shine: Healthy hair has that natural luster. If your hair looks more dull than a rainy Tuesday, it’s crying out for help!
- Breakage: Notice more strands than usual on your brush or in the shower? We need to address this ASAP!
The Basic Chemistry of Hair
Before you go all Avengers on your damaged locks, let’s talk about the science behind it. Hair is primarily made of a protein called keratin, which gives it structure and strength. Heat exposure denatures this protein, leading to a loss of elasticity. This makes our hair more prone to breakage and keeps it from looking its best. So, knowing this, let’s arm ourselves with some knowledge on how to treat it correctly!
Immediate Boost: Cut vs. Repair
Now that we’ve understood the issue at hand, it’s time to take charge! When wondering how to repair heat damaged hair, the first pivotal decision lies here. Should we cut or should we repair?
Embrace the Trim
If your ends are looking like a hot mess, don’t be afraid to go for a trim. While it may hurt emotionally, hacking off the split ends can help your hair look healthier instantaneously.
- Tip: Always ask for a ‘dusting’ at the salon if you’re not ready for a complete chop.
Repair Products and Tools
Okay, let’s talk tools, shall we? Just like a warrior needs armor, your hair needs its own set of products to recover. Here are some essentials to consider incorporating into your routine:
- Sulfate-Free Shampoos: These help in cleansing without stripping your hair of its natural oils. Many brands cater to those searching for gentle cleansers, so be sure to explore!
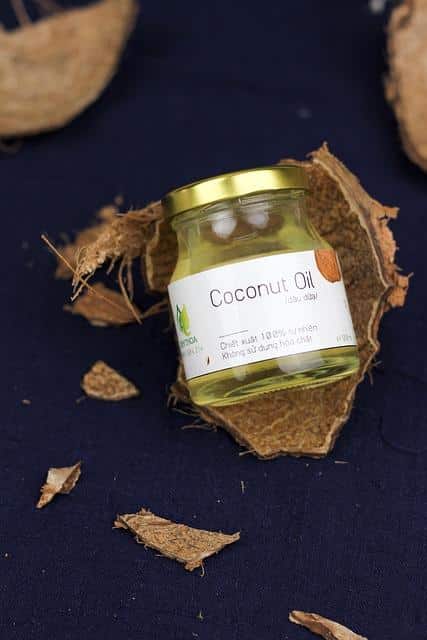
- Hydrating Conditioners: A rich conditioner is a must! Look for ingredients like coconut oil, shea butter, and argan oil for restoring moisture.
- Leave-In Conditioners: These are a game changer! Formulated to provide long-lasting hydration, they will help detangle and smooth your strands throughout the day.
- Protein Treatments: Rebuilding your hair’s keratin levels can be crucial. Look for treatments that specify protein infusion to strengthen compromised strands.
DIY Repair Masks for Heat Damaged Hair
if you’re up for a fun DIY project, whip up a nourishing hair mask right in your own kitchen! Here are two fabulous recipes.
Avocado and Yogurt Mask
Ingredients:
- 1 ripe avocado
- 1 cup plain yogurt
- 1 tablespoon honey
Instructions:
- Mash the avocado until smooth.
- Mix in the yogurt and honey until combined.
- Apply generously to your hair, focusing on the ends.
- Leave on for 30-45 minutes before rinsing out in the shower.
This mask is packed with vitamins and healthy fats to revitalize and moisturize!
Olive Oil and Egg Mask
Ingredients:
- 2 tablespoons olive oil
- 1 egg
Instructions:
- Whisk the egg until it’s frothy.
- Add olive oil and blend until well combined.
- Apply to damp hair, focusing again on the ends.
- Wrap your hair and let it sit for 20-30 minutes.
Eggs add protein and olive oil brings in moisture! Voilà – a nutritious treat for your tresses.
Daily Practices to Prevent Future Damage
No one wants to go through the struggle of how to repair heat damaged hair only to wind up in the same situation a few weeks later. So let’s build some good habits that will protect your beautiful mane!
Limit Heat Styling
While it’s not realistic to say goodbye to heat styling entirely (because, hello, those cute waves!), we can certainly learn to limit our usage!
- Alternatives: Embrace heatless styles! Experiment with braiding damp hair or using hair rollers for those gorgeous curls without the damage.
Use Heat Protectants
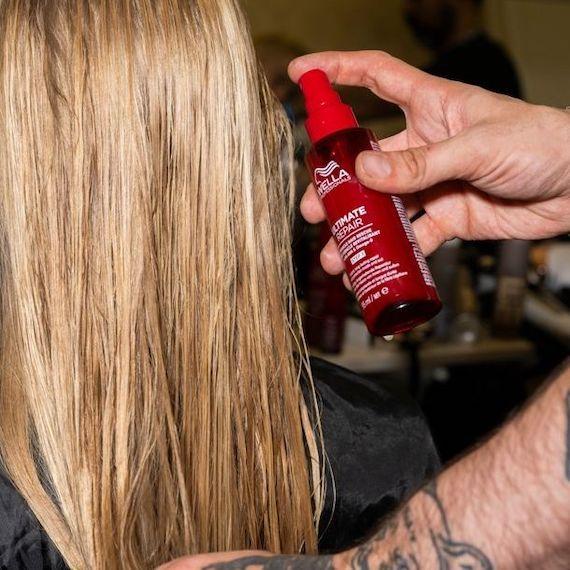
Before you even think about reaching for that flat iron, always apply a heat protectant spray or cream. This forms a barrier between your tresses and the high temperatures, significantly reducing damage. Think of it as a stylish coat for your hair, but way less boring.
Stay Hydrated and Nourished
Keeping your body hydrated will reflect in the health of your hair! Drink plenty of water, and eat nutrient-rich foods full of vitamins and minerals. Think leafy greens, omega-3 fatty acids, and proteins. Your hair will thank you!
Conclusion: Reclaiming Your Hair’s Glory
Knowing how to repair heat damaged hair can be a total journey, but with a little patience and care, you can absolutely get your fabulous locks back! By embracing trims, using the right products, creating nourishing DIY masks, and adopting preventive measures, your hair will rebound beautifully. Now, go forth and take action, because you deserve to flaunt your gorgeous, healthy hair – and remember, life’s too short for bad hair days!
For more in-depth knowledge on hair care, check out these incredible tips. Also, explore the science of split ends at Byrdie’s comprehensive guide. Embrace your hair journey – you’ve got this, girl!