Making your own lip gloss at home can feel like a delightful beauty adventure, transforming your creativity into a fabulous product that not only adds a pop of color to your lips but also nourishes and protects them. So, let’s discover the charming world of how to make homemade lip gloss and delve into all the thrilling details that’ll make you the queen of DIY beauty!
Ingredients for Homemade Lip Gloss
Before diving into the making process, let’s gather our ingredients! The wonderful thing about creating your own lip gloss is that you can customize it to suit your needs. Here’s a list of the most popular ingredients you’ll need:
-
- Beeswax or Candelilla Wax: These waxes give your gloss its thickness and help it stay on your lips. They also provide a protective barrier.
No products found.
-
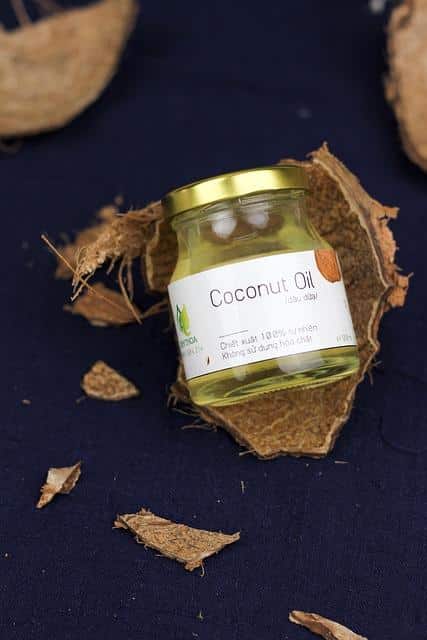
- Carrier Oils: Choose nourishing oils like coconut oil, jojoba oil, or sweet almond oil. These oils keep your lips hydrated and smooth.
No products found.
-
- Essential Oils or Flavorings: For a scrumptious scent and taste, opt for peppermint, vanilla, or any natural flavor you fancy. Just a drop or two will do!
No products found.
-
- Colorants: You can use mica powder or even beet juice for a natural tint that’ll make your gloss just as pretty as it is practical.
No products found.
-
- Containers: Get some cute little jars or tubes to store your finished lip gloss. Vintage containers can add a charming touch!
Now that we have our little goodies ready, let’s get into the juicy details of how to make homemade lip gloss!
Basic Lip Gloss Recipe
Creating your own delightful lip gloss is truly a piece of cake, or should we say, a piece of lip candy! Here’s a simple recipe to get you started:
Ingredients:
-
- 2 tablespoons of beeswax or candelilla wax
-
- 2 tablespoons of coconut oil (or your favorite carrier oil)
-
- 1 tablespoon of shea butter (optional, but super moisturizing!)
-
- 1-2 teaspoons of essential oil (for a fabulous scent)
-
- A pinch of mica powder (for color)
Instructions:
-
- Melt the Waxes and Oils: In a heatproof container, combine the beeswax, coconut oil, and shea butter. Place this container in a pot of boiling water, creating a double boiler. Stir gently until everything has melted into a luscious liquid.
-
- Add Color and Fragrance: Carefully remove the mixture from heat. Add your mica powder and essential oils, stirring well to combine. Make sure the mixture is well-blended and has that adorable color of your dreams!
-
- Pour into Containers: Quickly but carefully pour your liquid gloss into your chosen containers. Be careful; it’s hot! This is where the magic happens – your gorgeous lip gloss is taking shape!
-
- Let it Set: Allow the gloss to cool completely before sealing the containers. This could take about 30 minutes, or you could pop them in the fridge to speed things up (just be sure they’re sealed tight).
-
- Enjoy Your Creation: Voilà! Your fabulous homemade lip gloss is ready to glam up your lips. It’s hydrating, totally unique, and smells like a dream. Plus, you’ll definitely get endless compliments!
Adding Unique Flavors and Colors
Once you’ve mastered the basic lip gloss recipe, you can add your unique flair by experimenting with different flavors and colors. Here’s how you can take your lip gloss game to the next level:
-
- Flavor Boosters: Beyond essential oils, consider adding flavoring extracts like vanilla or almond to create your very own signature flavors.
-
- Natural Colorants: For a burst of color, try natural colorants like beet powder, which provides a beautiful pink hue, or charcoal for a more edgy, dark look. Just a tiny sprinkle goes a long way!
-
- Fun Additions: Feeling extra cheeky? Add some sparkle by mixing in a touch of cosmetic-grade glitter (just be mindful of using lip-safe glitters only!).
Creating Unique Blends
One of the joys of how to make homemade lip gloss is that you can get totally creative with your blends! Here are some fabulous combinations to inspire you:
Refreshing Minty Gloss
-
- 1 tablespoon beeswax
-
- 1 tablespoon coconut oil
-
- 1 teaspoon shea butter
-
- 2-3 drops peppermint essential oil
-
- 1 teaspoon green mica powder for a fresh-green tint
Sweet Berry Bliss
-
- 2 tablespoons beeswax
-
- 1 tablespoon sweet almond oil
-
- 1 teaspoon raspberry flavoring
-
- A pinch of beet powder for a vibrant pink hue
Lavender Dream
-
- 2 tablespoons candelilla wax
-
- 2 tablespoons jojoba oil
-
- 1 teaspoon lavender essential oil
-
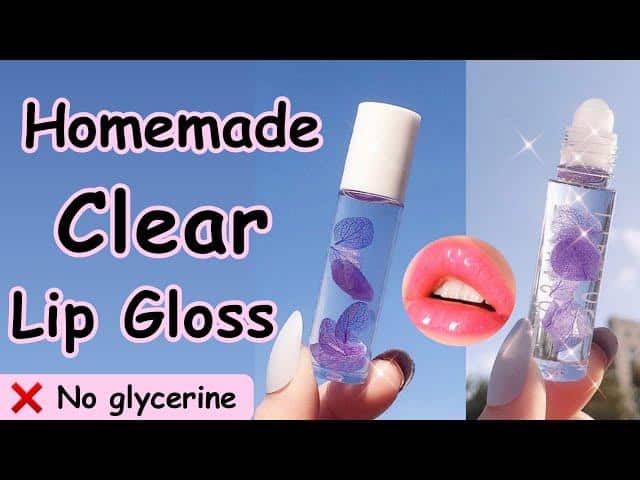
- A tiny bit of purple mica for dreamy vibes
Storage Tips for Your Lip Gloss
Storing your homemade lip gloss properly is crucial to maintaining its freshness and efficacy. Here are some easy-peasy storage tips:
-
- Cool, Dark Place: Keep your gloss in a cool, dark cupboard, away from direct sunlight. Heat can affect the texture and scent.
-
- Use Airtight Containers: Invest in high-quality jars or tubes that seal tightly. This keeps your lip gloss safe from moisture and bacteria.
-
- Expiration Dates: Homemade lip gloss generally lasts about 6 months to 1 year. Keep an eye (and nose) on your gloss—if it changes color or smells funky, it’s time to toss it!
Benefits of Homemade Lip Gloss
Why should you choose to make your own lip gloss? Here’s the lowdown on the fabulous benefits:
-
- Customization: Tailor your lip gloss to your exact preferences—scent, flavor, color, and ingredients!
-
- Natural Ingredients: Avoid those chemical-laden products that can be harsh on your delicate lips. Homemade is always better for your kissers!
-
- Cost-Effective: Creating your own gloss can save you loads of cash compared to buying those cute little tubes from the store.
-
- Creative Outlet: Making lip gloss is not just about the final product; it’s a fun DIY project that lets your creativity shine!
Safety Precautions for Homemade Beauty Products
Although making lip gloss is super fun, it’s important to keep safety in mind as you play with your ingredients.
-
- Ingredient Research: Make sure to research any new oils or powders before use, ensuring they’re safe for lip application.
-
- Patch Tests: Always do a patch test before fully applying your gloss to avoid allergic reactions.
-
- Keep It Clean: Maintain cleanliness while making and storing your products to ensure no unwanted germs harm your creations.
Conclusion
The world of beauty is a lovely playground, and how to make homemade lip gloss brings a sparkle of creativity right into your very hands. With a few simple ingredients and a dash of imagination, you can craft exquisite lip glosses that not only beautify but also nourish your lips. So gather your supplies, channel your inner beauty guru, and let your DIY lip gloss journey begin!
For more DIY beauty tutorials, check out these fabulous resources: Healthline on Homemade Lip Balm and Verywell Health on Lip Balm Recipes. Happy crafting, beauties!