How to Make Homemade Lip Exfoliator? If you’re a lip care aficionado like me, you probably know the importance of soft, kissable lips. Whether it’s for that perfect makeup look or just the everyday glow, a little TLC for your lips goes a long way! One of the best ways to pamper those luscious lips is by making a homemade lip exfoliator. This delightful DIY treatment not only sweeps away dead skin but also leaves your lips feeling fabulous and looking fresh. So let’s spill the lip care tea and dive into the world of creating the most fabulous homemade lip exfoliators!
Benefits of Homemade Lip Exfoliators
Nourishing Your Lips
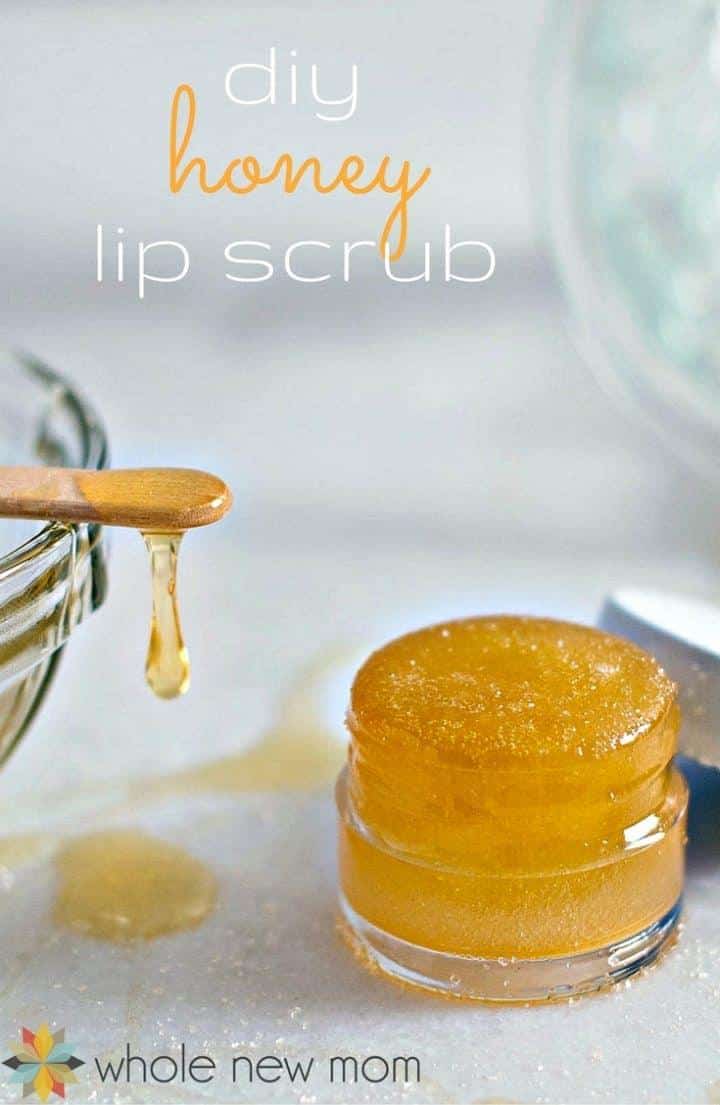
Homemade lip exfoliators are packed with nourishing ingredients that can leave your lips feeling oh-so-soft. Unlike store-bought versions loaded with chemicals, homemade ones allow you to choose high-quality ingredients. Ingredients like honey, coconut oil, and sugar not only scrub away that pesky dry skin but also hydrate and nourish for a perfect pout.
Cost-Effective and Fun
Making your own lip exfoliator can save you some serious cash! Plus, it’s a fun DIY project that you can whip up in just a few minutes—what’s not to love? Gather your favorite ingredients, mix them up, and voila! You’ve got an indulgent treat that feels like a spa day at home.
Customizable Options
Let’s be honest, everyone has their own preferences—what tastes good and feels good varies from person to person. Homemade means customizable! You can mix and match flavors, scents, and textures to create your perfect blend. Feeling fruity? Add some fresh berries! Want something soothing? Lavender oil might just do the trick!
Essential Ingredients for Your DIY Lip Exfoliator
Creating homemade lip exfoliator bliss is all about the key ingredients! Here’s a list of must-have components that can elevate your treatment from basic to a beauty phenomenon.
Sugar
The main star of our show! Granulated sugar is a gentle yet effective exfoliant. Its crystals work wonders to remove dead skin without being too harsh on your delicate pout.
Oils
Each oil brings its own magical touch, perfect for moisturizing and nourishing your lips. Common choices include:
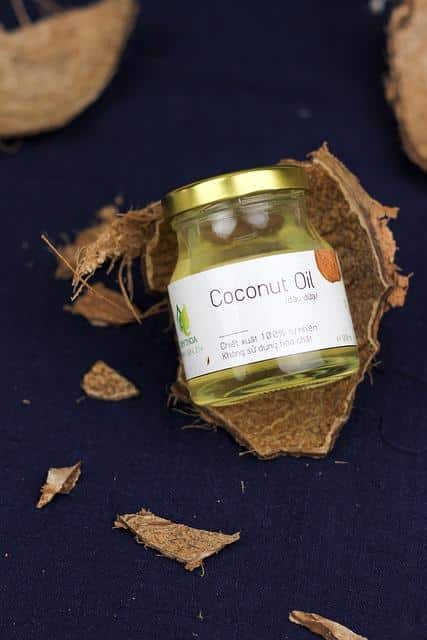
- Coconut Oil: Incredibly hydrating and smells like a tropical vacation!
- Olive Oil: Rich in antioxidants and super moisturizing.
- Almond Oil: A great option for soothing and softening.
Nature’s Sweetener
Sweeteners like honey or agave nectar not only taste divine but also have incredible hydrating properties. They keep your lip exfoliator extra moist and luscious!
Flavors and Scents
Why not add a little pizzazz? Essential oils or flavor extracts like peppermint, vanilla, or citrus can elevate your lip scrub experience to new heights of deliciousness.
Step-by-Step Guide on How to Make Homemade Lip Exfoliator
Now that we’ve got our fabulous ingredients ready, it’s time to get our hands a little messy! Follow these easy-peasy steps to whip up your own homemade lip exfoliator.
Gather Your Supplies
First things first, gather all the fabulous ingredients and supplies you’ll need:
- A small mixing bowl
- A spoon for mixing
- A small jar or container for storage
- Ingredients of your choice (sugar, oil, honey, etc.)
Perfect Your Ratios
Here’s a simple base recipe to get those creative juices flowing! For every tablespoon of sugar, you can add one teaspoon of oil and half a teaspoon of honey. Feel free to adjust based on your preference!
html


    Ingredient

    Quantity


    Sugar

    1 Tbsp


    Oil (coconut, olive, or almond)

    1 tsp


    Honey

    1/2 tsp


    Flavor/essential oils

    5-10 drops
Mix It Up
In your mixing bowl, combine the sugar, oil, and honey until you have a well-blended mixture. Don’t fret if it seems a little too dry; just adjust with a tad more oil as needed.
Infuse with Flavor
Time to bring in the flavors! Add your favorite essential oils or flavor extracts—think about what scents make your heart sing!
Store Your Creation
Spoon your lovely concoction into the small jar or container. Make sure it’s sealed tightly to keep that luscious goodness fresh. Label it with a fun name (like “Julie’s Lip Bliss”) to add a personal touch!
Using Your Homemade Lip Exfoliator
Now that you’ve crafted your masterpiece, it’s time to pamper your lips! Here’s how to use your homemade lip exfoliator for the best results.
1. Prep Your Lips
Start with clean and dry lips. A gentle swipe of a damp cloth can prepare the canvas.
2. Apply the Exfoliator
Take a small amount of your lip scrub and apply it gently to your lips. Use your fingertip or a lip brush to massage in circular motions. This will exfoliate, removing dead skin while also feeling oh-so-satisfying!
3. Rinse and Moisturize
After scrubbing for about 30 seconds, rinse your lips off with warm water. Pat dry, then seal in the moisture with your favorite lip balm or oil. Trust me, your lips will thank you!
Frequency of Use
For optimal results, use your homemade lip exfoliator 1-2 times a week. This helps keep your lips soft and kissable without over-exfoliating. Listen to your lips and find the perfect balance that works for you!
Benefits of Regular Lip Exfoliation
Promotes Smoothness
Regularly exfoliating your lips helps to keep them smooth and free from dry, flaky patches. This means no more unsightly skin while you strut your stuff!
Enhances Lipstick Application
Want your lip color to pop? An exfoliated surface helps lipstick glide on smoothly, making colors appear more vibrant and even.
Increases Hydration
Exfoliation removes dead skin, allowing lip balms and treatments to penetrate deeper for luscious hydration.
Troubleshooting Common Issues
Even though creating your homemade lip exfoliator can be super fun, there may be times when things don’t go as planned. Here are a few common issues and some quick fixes!
Too Gritty
If your scrub turns out too gritty, simply add a little more oil or honey to achieve a smoother texture. Remember, it should feel enjoyable, not like you’re chowing down on sand!
Too Oily
On the flip side, if your exfoliator is too oily, add some extra sugar to balance it out. You want the perfect scrub that feels just right!
Lack of Scent or Flavor
If you find the scent or taste lacking, don’t hesitate to add more drops of flavor or essential oils until you reach your desired intensity.
Conclusion
So there you have it, the ultimate guide on how to make homemade lip exfoliator! With just a few simple ingredients and techniques, you can create your very own lip scrub that suits your needs and desires. Remember, beautiful lips are just a scrub away. Not only will your DIY lip exfoliator give you that irresistible softness, but it’s also a fantastic way to treat yourself or impress your friends!
For more beauty tips and tricks, don’t hesitate to check out Healthline or Elle. Go on and start exfoliating! Your lips will sing with joy! 💋