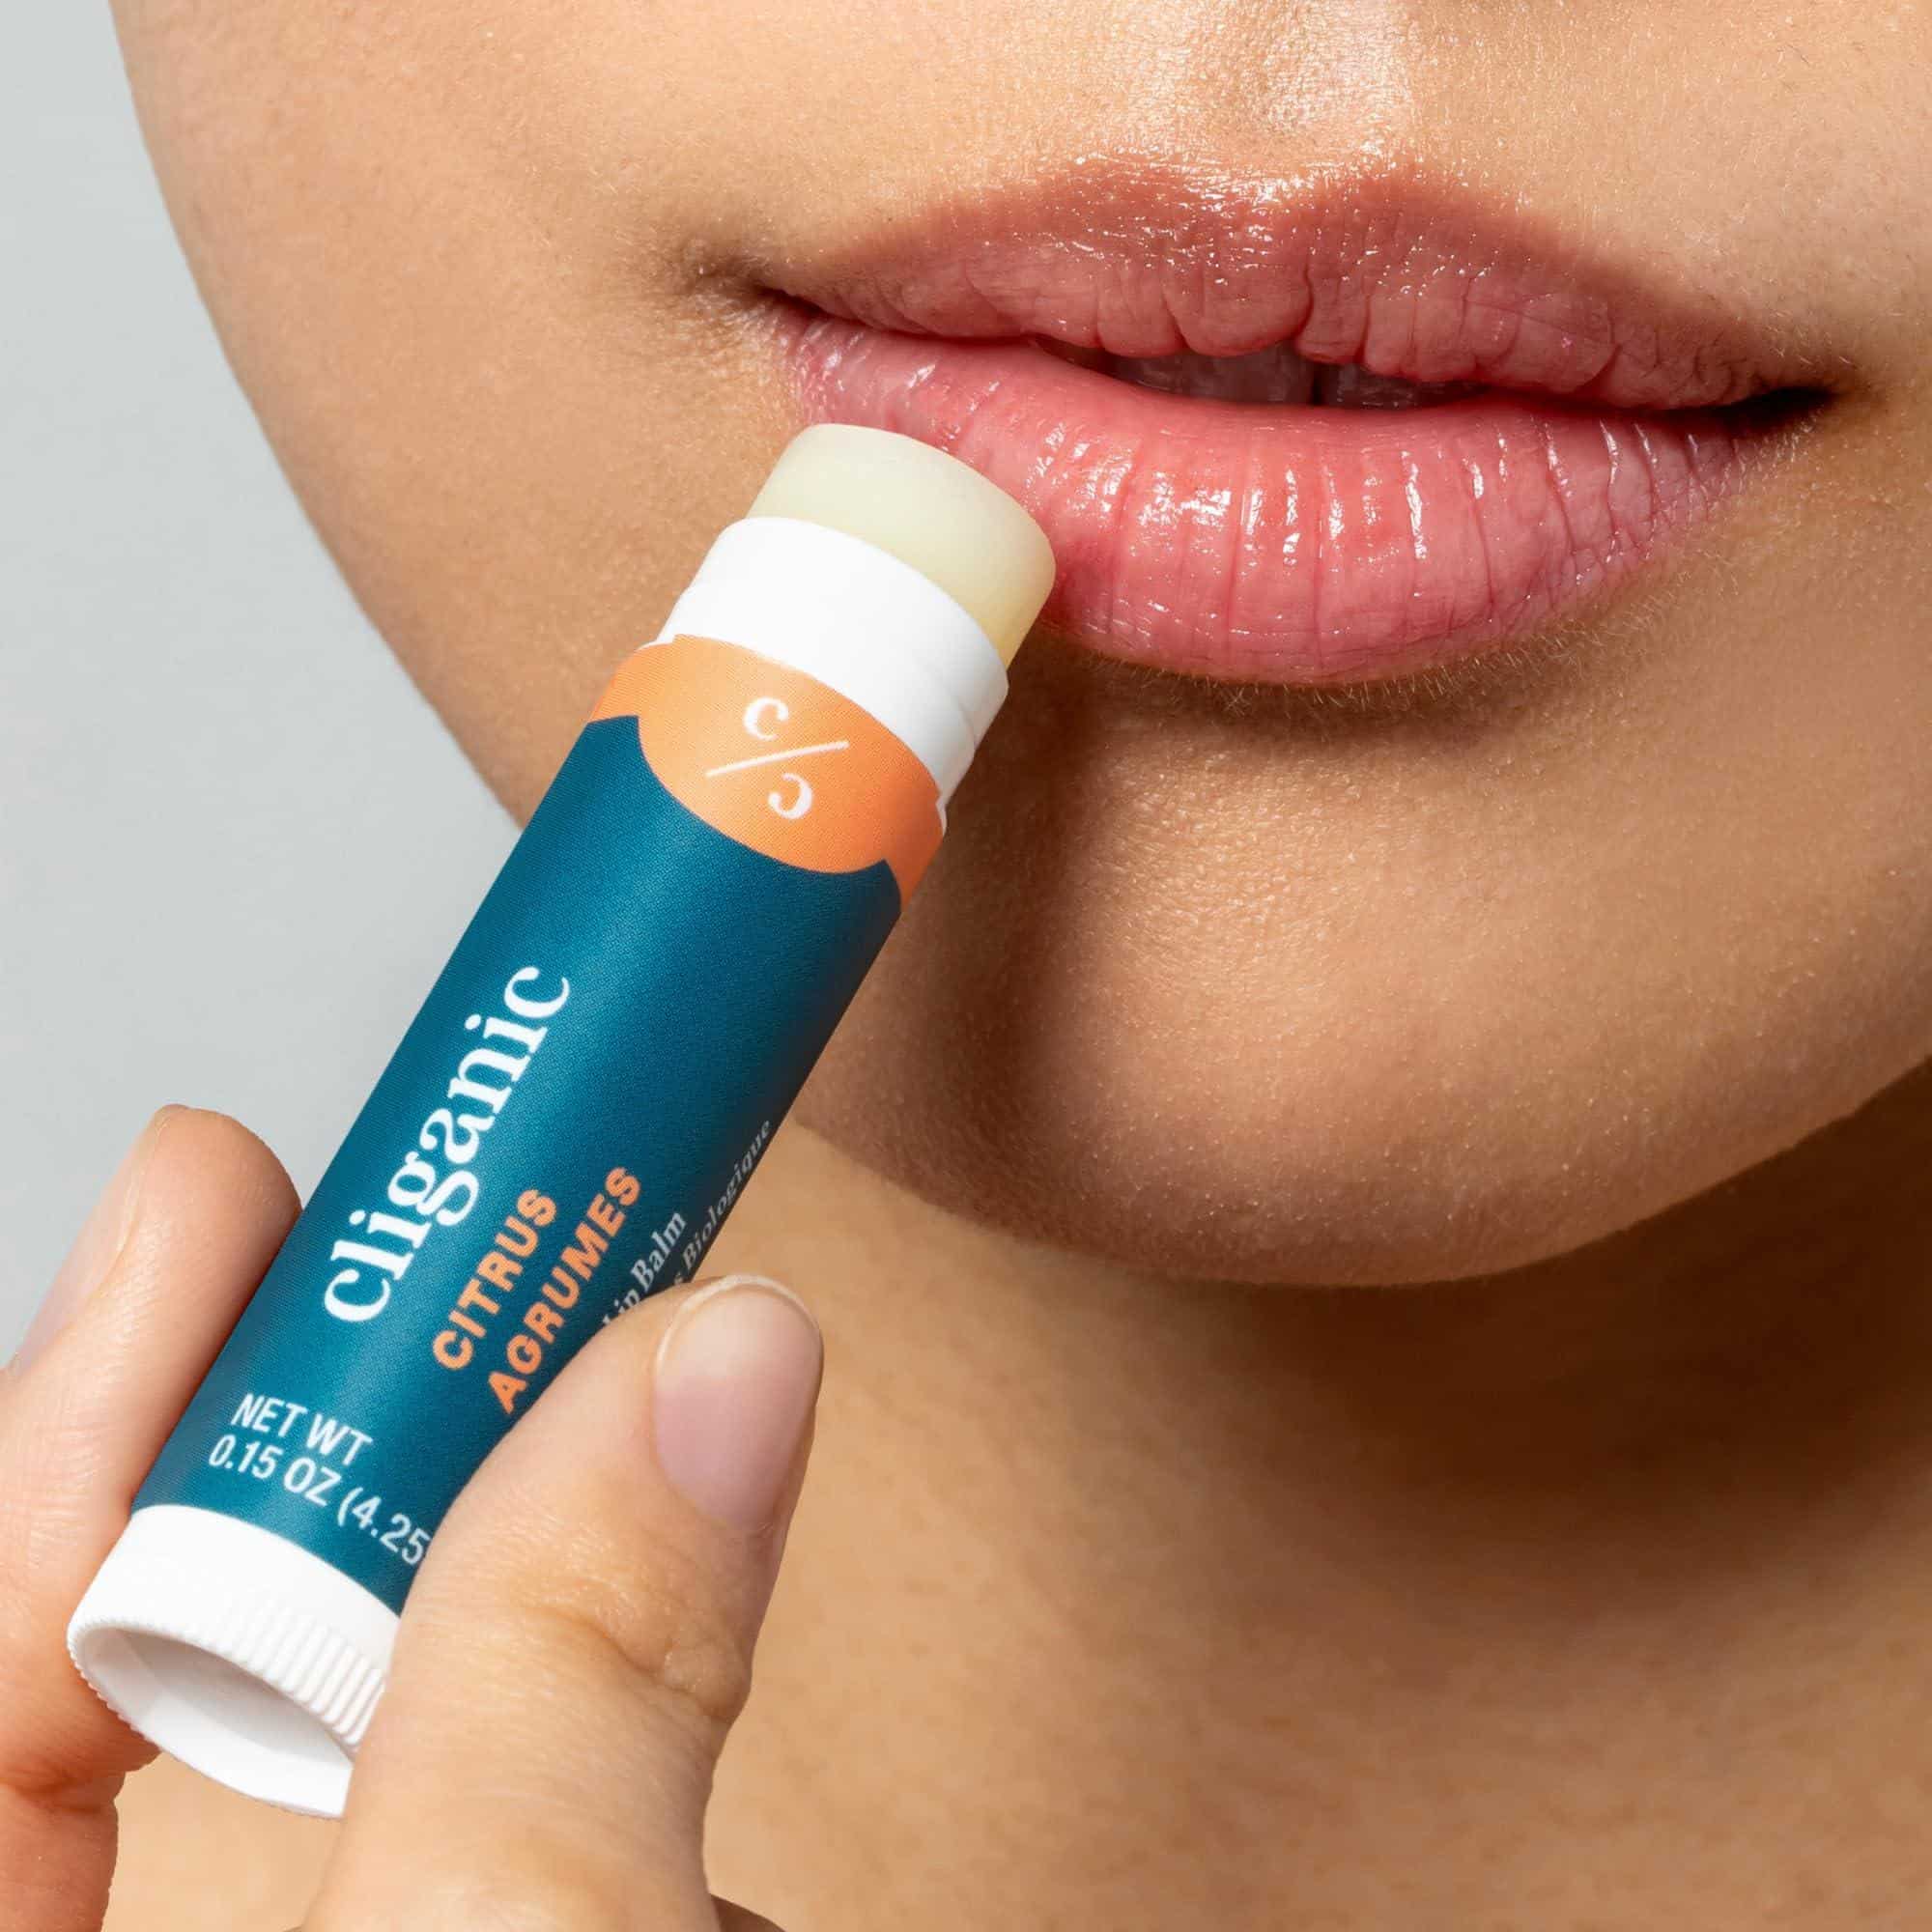
Making your own lip balm at home isn’t just a fun DIY project; it’s an adorable way to take care of those luscious lips! How To Make Homemade Lip Balm? Well, grab your favorite apron, and let’s dive right into the world of whimsy and moisture!
The Basics of Lip Balm: A Fun Overview
To understand the magic behind lip balm, let’s break it down. Lip balms serve as a protective barrier to lock in moisture while keeping your lips soft and supple. They can be customized to your heart’s desire, allowing you to blend different flavors, colors, and even scents. The best part? You can tailor it to your specific needs. Dry lips? No problem. Want a hint of color? We’ve got you covered, babe!
Key Ingredients for Homemade Lip Balm
Understanding what goes into your homemade lip balm is the first step in this delightful journey. Here’s a quick look at the core ingredients you’ll need:
| Ingredient | Function |
|———————|———————————–|
| Beeswax | Thickener and protective barrier |
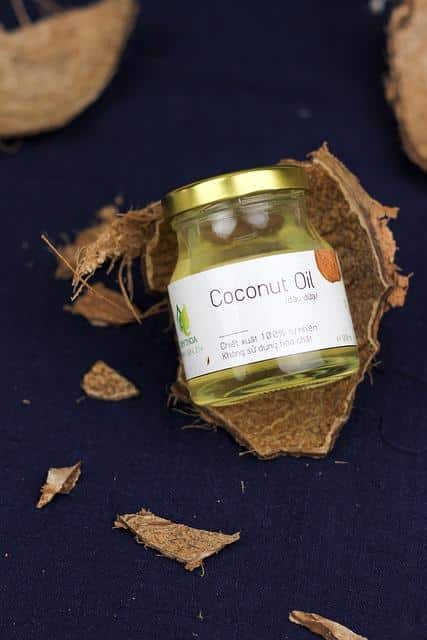
| Carrier oil (coconut, almond, etc.) | Nourishes and moisturizes |
| Essential oils | Adds fragrance and flavor |
| Optional: Colorants | For that pop of fun and flair |
Essential Oils: The Flavorful Touch
When considering How To Make Homemade Lip Balm, getting the essential oils right could be the difference between a drab mix and a lip-smacking treat! Popular choices include:
- Peppermint oil: A fresh, tingly sensation.
- Lavender oil: Calming and soothing.
- Lemon oil: A zesty splash that brightens the mood.
Add about 10-15 drops to your blend, and voila, you’re on your way to tantalizing lip bliss!
Gathering Your Supplies
Now that you know what goes into your luscious creation, let’s gather those supplies! Here’s what you’ll need:
- Double boiler or a small pot and a heat-safe bowl
- Measuring cups and spoons
- Lip balm containers (small tins or tubes)
- Stirring utensil (a cute little spoon or spatula!)
Make sure everything is clean and ready to go. We want this to be a chic and tidy experience!
How To Make Homemade Lip Balm: Step-by-Step Guide
Ready to jump into the crafting adventure? Here’s a step-by-step guide to teach you exactly How To Make Homemade Lip Balm!
- Melt the Beeswax
– In your double boiler, melt 1 tablespoon of beeswax over medium heat until fully liquefied. This forms the base of your lip balm.
- Mix in the Carrier Oil
– Add 2 tablespoons of your chosen carrier oil. Coconut oil is a favorite for its adorable scent and moisturizing properties. Stir together until well combined.
- Add Butter for Extra Moisture
– For extra creaminess, consider adding a tablespoon of shea or cocoa butter. Mix it in until melted.
- Incorporate Essential Oils
– Here comes the fun part! Add your essential oils of choice. Remember, a little goes a long way, so be careful not to overdo it.
- Color It Up (Optional)
– If you’re feeling fancy, toss in a drop of natural colorants like beet juice or mica powder. This step is entirely optional, but hey, who doesn’t want fabulous-looking lip balm?
- Pour and Set
– Carefully pour your mixture into lip balm containers. Don’t worry if it seems a bit warm; it will solidify as it cools. Let them sit for a couple of hours until they’re completely set.
- Enjoy Your Lip Love!
– Once cooled, your deliciously custom lip balm is ready to use. Spoil yourself or gift a few to your friends because sharing is caring!
Tips and Tricks for Your Lip Balm Adventure
- Experiment with Ratios: If you like your lip balm harder or softer, play around with the beeswax and oils ratio.
- Stay Clean: Make sure all your utensils and containers are well sanitized to keep your balms fresh and free from bacteria.
- Personalize Your Containers: Get crafty and decorate your containers with ribbons and stickers. It makes everything feel super special!
How To Make Homemade Lip Balm? Insight into Variations
Feeling adventurous? There are numerous variations you can try when you’ve mastered the basics! Try different flavors like vanilla, mint, or berry to keep the creativity flowing.
- Tinted Lip Balm: Add a bit of lipstick or beet juice to create a lovely tint.
- Sun Protection Lip Balm: Incorporate some zinc oxide to give your lips some sun defense.
Troubleshooting: Common Lip Balm Issues and Solutions
Even the best of us can encounter a lip balm hiccup, but don’t fret! Here are some common issues and how to fix them:
| Issue | Solution |
|———————|—————————————|
| Too hard | Melt and add more carrier oil |
| Too soft | Melt and add more beeswax |
| Grainy texture | Ensure all ingredients are melted properly |
| Colors not mixing | Stir well before pouring |
Storing Your Homemade Lip Balm
Keep your gorgeous balms safe and sound! Store them in a cool, dark place, ideally below 75°F, to extend their shelf life. Just be sure to date your creations; you won’t want them to turn into a mysterious science experiment!
Why Make Homemade Lip Balm?
Making your own lip balm is not just about mixing. It’s an expression of creativity, care, and a great way to ensure you’re using natural ingredients! Plus, it’s economical and a fantastic way to reduce waste compared to store-bought options.
Conclusion: Embrace Your Lip Balm Journey
Now you’re armed with the knowledge of How To Make Homemade Lip Balm. It’s not just a craft; it’s an opportunity to add a little love to your life every day. Moisturizing, experimenting, and creating something uniquely yours truly warms the heart. Happy crafting, gorgeous! Remember, your lips deserve all the love! For more information on natural lip care options, check out this great resource.
With a little practice, you’ll be serving some truly fabulous lip balm that’s as cute as it is effective. Dive in and let those lips shine!