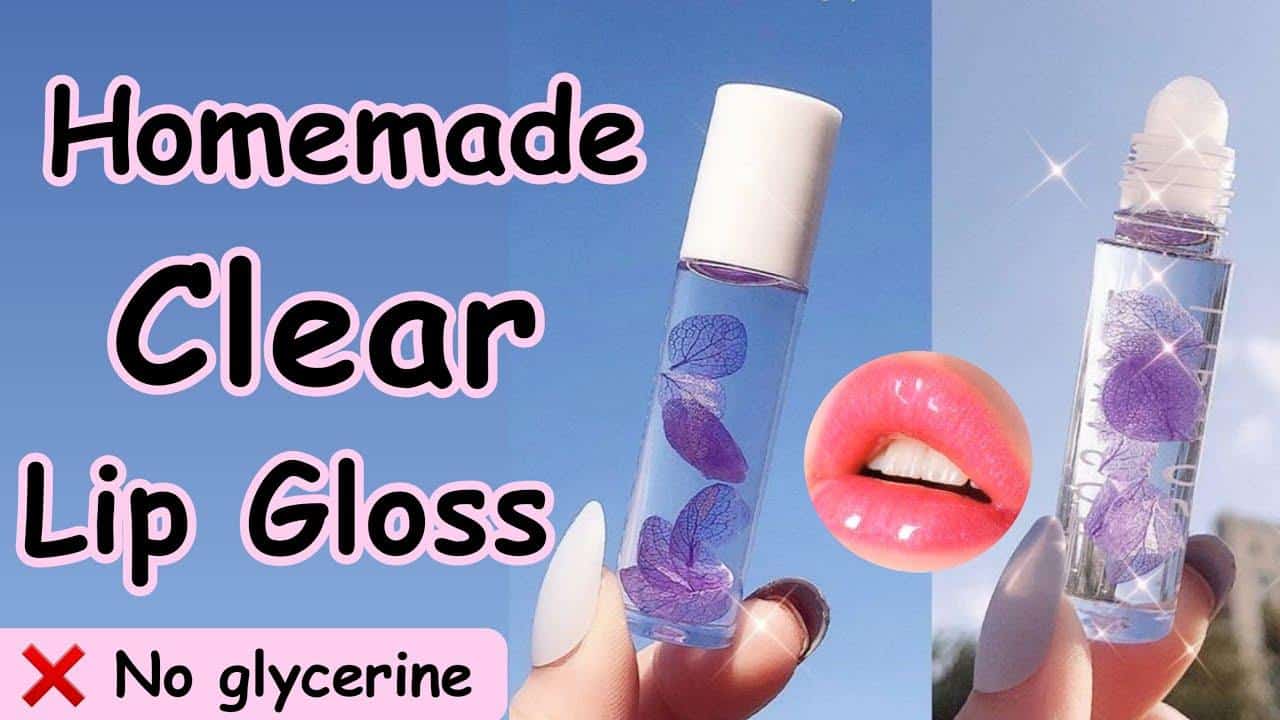
How To Make DIY Lip Gloss? This fabulous journey into the world of luscious lips and DIY beauty is about to unfold! If you love giving your lips a touch of glamour without spending a fortune or diving into the overwhelming world of commercial products, you’re in for a delightful treat. Making your own lip gloss is not just a super fun craft; it’s also a fantastic way to customize colors, flavors, and textures to match your unique style. So, grab your prettiest apron, and let’s get started on this glam adventure!
Essential Ingredients for DIY Lip Gloss
When it comes to creating your very own lip gloss, the ingredients you choose are crucial to achieving that perfect pout. Below are the essential ingredients you’ll need to whip up a batch of this beauty must-have:
Natural Oils
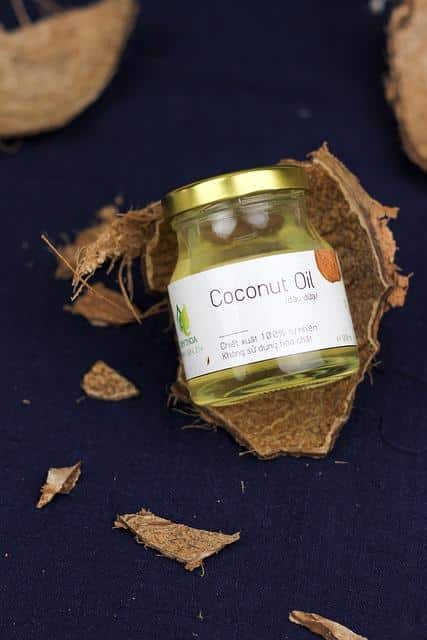
- Coconut Oil: Renowned for its moisturizing properties, coconut oil keeps your lips hydrated and provides a lovely base for your gloss.
- Sweet Almond Oil: Light and nourishing, sweet almond oil helps in creating a silky texture.
- Jojoba Oil: Mimicking the skin’s natural oils, jojoba oil is perfect for a smooth finish.
Waxes
- Beeswax: This is the golden standard for lip gloss making, providing structure and a barrier against moisture loss. It’s also totally natural, which is a huge plus!
- Candelilla Wax: A plant-based alternative to beeswax, it’s ideal for vegan lip gloss lovers.
Butters
- Shea Butter: Known for its creamy texture and healing properties, shea butter adds richness and hydration.
- Cocoa Butter: This luscious butter not only smells divine but also ensures your gloss is beautifully spreadable.
Flavoring and Colorants
- Essential Oils: To add a splash of flavor, consider adding a few drops of essential oils like peppermint or sweet orange.
- Lip-safe Colorants: You can use natural pigments like beetroot powder for a rosy tint, or a little mica powder for shimmer.
Crafting Your DIY Lip Gloss
Now that we’ve gathered our gorgeous ingredients, it’s time for the fun part: making your lip gloss! Let’s break it down into easy-peasy steps.
Gather Your Supplies
For crafting the lip gloss, you’ll need:
- A double boiler or microwave-safe bowl
- A spoon or whisk for stirring
- Small containers or lip gloss tubes for storage
- A dropper if you’re adding color or flavor
Step-by-Step Instructions
Step 1: Melt Your Waxes
- In your double boiler, combine a tablespoon of beeswax with a tablespoon of coconut oil. If you’re using candelilla wax, just replace beeswax with the same amount.
- Heat gently until everything is melted. If you’re using a microwave, do it in 30-second intervals, stirring between each until fully melted.
Step 2: Add Oils and Butters
- Once the wax mixture is melted, add a tablespoon of sweet almond oil and one tablespoon of shea butter or cocoa butter, depending on your preference. Stir until thoroughly mixed.
Step 3: Choose Your Flavor and Color
- If you want a lovely flavor, add 1-2 drops of your favorite essential oil. For color, add a small pinch of natural pigment or lip-safe mica powder. Mixing time! Stir it all together until the color is even.
Step 4: Pour Into Containers
- Carefully pour your DIY lip gloss mixture into your containers or tubes. Make sure to leave a little space at the top, as the gloss will solidify. Let it sit until it cools and hardens completely.
Step 5: Enjoy Your Creation!
Once cool, your ultra-glam lip gloss is ready to be rocked! Apply directly onto the lips with your finger or use a lip brush for a more precise application. And voila! You’ve just made your very own lip gloss at home!
Tips for Personalizing Your DIY Lip Gloss
Personalizing your lip gloss is where the magic really happens! Here are some fun tips to take your gloss to the next level:
Experiment with Scents
Don’t shy away from combining different essential oils! Minty, fruity, or floral scents can give your DIY lip gloss an added whimsical touch.
Play with Color
Mix and match various natural pigments to create a unique shade that perfectly complements your skin tone. Remember, a little goes a long way!
Add Shine
To achieve that extra glimmer, add a pinch of biodegradable glitter or shimmer mica powder for a sparkling effect.
Storing Your DIY Lip Gloss
To maintain the quality of your homemade lip gloss, proper storage is key. Here are some best practices:
- Cool, Dark Place: Store your gloss in a cool place away from direct sunlight to prolong its shelf life.
- Sealed Containers: Use airtight containers to prevent contamination and drying out.
- Use Within Six Months: For optimal freshness and effectiveness, use your DIY lip gloss within six months.
Benefits of Making Your Own Lip Gloss
Natural Ingredients
One of the most fabulous benefits of making your own lip gloss is knowing exactly what goes into it! You can select natural ingredients safe for your skin, avoiding harsh chemicals found in many commercial products. Say goodbye to unknown additives and hello to pure, juicy goodness!
Cost-Effective
Creating your own lip gloss is often less expensive than purchasing high-end brands. With just a few pantry staples, you can whip up multiple batches and save those pretty pennies for something else fabulous!
Creative Outlet
Getting crafty with lip gloss can be super empowering! It allows for personal expression, turning makeup application into a fun activity rather than just a chore. Sharing your creations with friends or gifting them can also spread joy and creativity.
Conclusion: A Flavorful Adventure Awaits
So there you have it! You now know how to make DIY lip gloss that’s not only luscious but also packed with love and creativity. Remember, the journey of how to make DIY lip gloss is all about having fun, experimenting, and embracing your individuality. Feel free to share your custom mixes, flavors, and personal touches with friends. So go ahead, embrace those gorgeous hues and fabulous flavors, and let your confidence shine through those beautiful lips. Happy crafting!
For more fabulous beauty tips and tricks, check out these awesome resources: Cosmetics Chemistry and Lip Balm Ingredients.