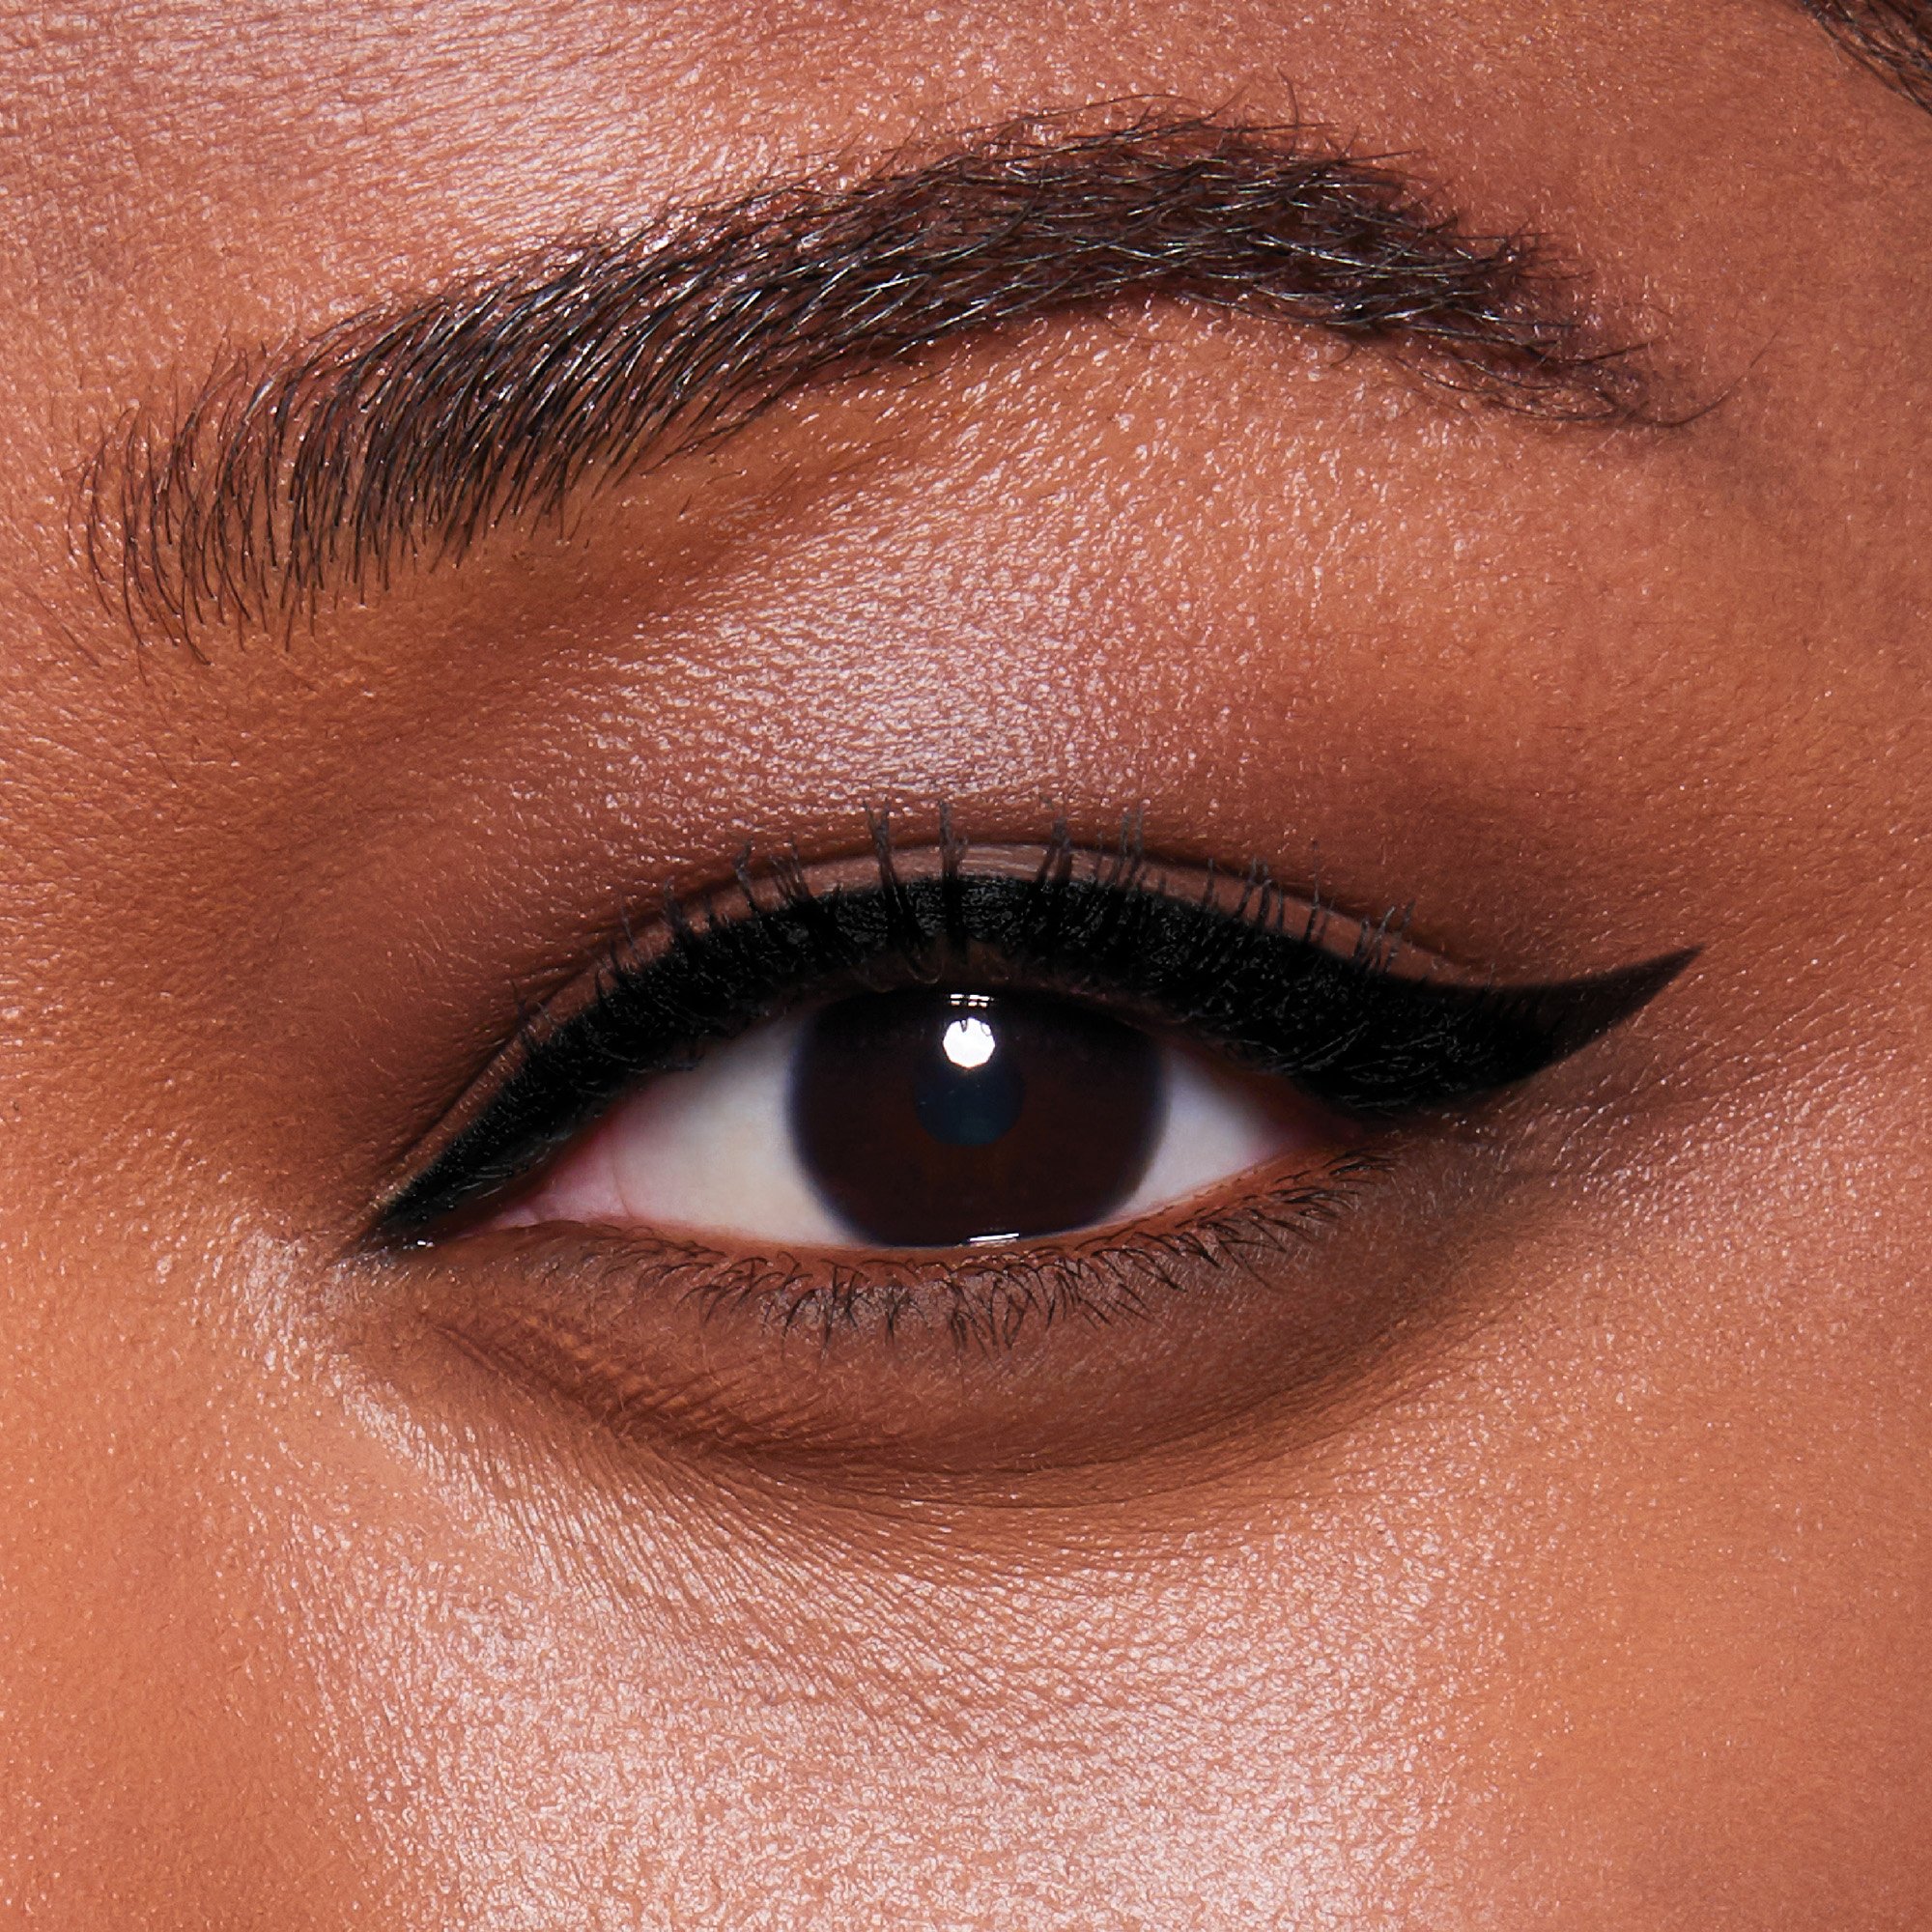
Winged eyeliner has long been a classic beauty look, beloved by many for its ability to add instant glam and definition to the eyes. Not just a staple for special occasions, this versatile technique can elevate your everyday makeup routine too. If you’re on a quest to master this art form, you’re in luck! This ultimate guide on How To Do Winged Eyeliner For Beginners will walk you through everything you need to know—from the tools you’ll use to expert tips that will have you looking like a pro in no time.
Essential Tools for Winged Eyeliner
Before diving into the steps of How To Do Winged Eyeliner For Beginners, it’s crucial to gather your makeup arsenal. The right tools can make a world of difference in your application process. Here’s what you’ll need:
| Tool | Description |
| Eyeliner | Choose between gel, liquid, or pencil based on your comfort level. Liquid eyeliners provide precision, while gel ones offer a softer look. |
| Angled Brush | If using gel eyeliner, an angled brush gives you more control for creating sharp wings. |
| Tape or Cardstock | This helps create clean lines, especially when you’re just starting out. |
| Mirror | A makeup mirror with good magnification helps you see what you’re doing! |
| Makeup Remover | For those little mistakes, having makeup remover nearby ensures you can easily fix any mishaps. |
Step-by-Step Instructions for Winged Eyeliner
Now that you’ve got all your tools ready, let’s get down to business. Below is a comprehensive, step-by-step guide on How To Do Winged Eyeliner For Beginners.
Step 1: Prep Your Eyelids
A smooth base is crucial for perfect winged eyeliner! Begin by applying an eyeshadow primer. This not only helps to hold the eyeliner in place but also makes the application smoother. Once that’s done, you can even dust a neutral eyeshadow over your lids to create an even canvas.
Step 2: Create Your Guide
To achieve those fabulous wings, you need a guide. Place a piece of tape or a cardstock at an angle from the outer corner of your eye towards your brow. This will help create that sharp, crisp winged effect. If you’re ready to go freehand, the concept of a guide can be imagined where the wing starts as a sharp “V.”
Step 3: Draw the Initial Line
Start by choosing the eyeliner you’re comfortable with. For beginners, a pencil liner is often easiest to work with. Begin at the inner corner of your eye and draw a thin line across your lash line—thicker lines can come later! Aim for a line that slightly thickens as it reaches the outer corner.
Step 4: Create the Wing
Now for the fun part! Draw a little flick from the outer corner of your eye in the direction of your tape. This is where the angled piece comes into play! Use short strokes to build your wing for more control. Remember, practice makes perfect, so don’t worry if it isn’t perfect the first time!
Step 5: Connect the Lines
Once your wing is shaped to your liking, it’s time to connect it to the line on your lash line. Fill in the triangle shape you’ve created. This can be done with additional product from your eyeliner tool or brush, depending on the formula you’re using.
Step 6: Perfect Your Look
Check both eyes in the mirror! Are they even? If one wing is higher or thicker, use cotton swabs dipped in makeup remover to clean up the edges and refine your shape. If you’ve gone too far, you can also apply a small bit of concealer to soften the edges.
Step 7: Set and Shine
To finish off your look, you may want to apply mascara to add to that sultry eye vibe. If you’re feeling extra playful, consider adding some false lashes for a dramatic impact. Remember to take your time when applying mascara so you don’t end up with a clumpy mess!
Common Mistakes to Avoid When Doing Winged Eyeliner
As with any makeup technique, there are a few common pitfalls that beginners encounter when learning How To Do Winged Eyeliner For Beginners. Avoid these classic mistakes to achieve a flawless look:
- Not Using a Primer: Always prep your eyelids for a smoother application and longer-lasting wear.
- Rushing the Application: Take your time with each step. The more you rush, the more likely you are to make mistakes.
- Overdoing the Thickness: When starting out, it’s easy to go too thick. Keep it thin before gradually building the thickness to your preference.
- Skipping the Cleaning Up Step: Always check for unevenness and make sure to clean up any mistakes with makeup remover—this can completely transform your look!
Final Tips for Winged Eyeliner
- Practice Makes Perfect: Don’t get discouraged if it doesn’t turn out perfectly the first time. Like all skills, practice will significantly improve your proficiency.
- Experiment with Different Styles: Winged eyeliner can range from subtle and natural to bold and dramatic. Feel free to experiment with different angles and thicknesses.
- Stay Calm and Have Fun: Makeup should be an enjoyable experience, so remember to embrace the process! Treat it like self-expression and enjoy the process.
mastering the art of winged eyeliner is totally achievable! With the right tools, a little patience, and the steps outlined here, you’ll become a winged eyeliner goddess in no time. Practice makes perfect, and each attempt will bring you closer to effortlessly rocking this look. So grab your eyeliner and get ready to create some magic—your eyes deserve the best!
For more tips and comprehensive guides, visit Makeup.com or check out Sephora for fantastic product recommendations. Happy lining, beauties!