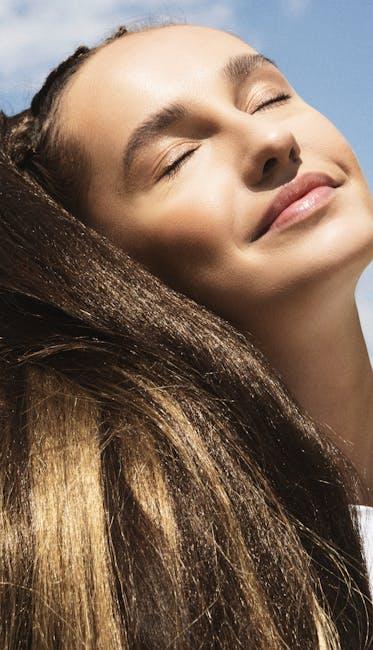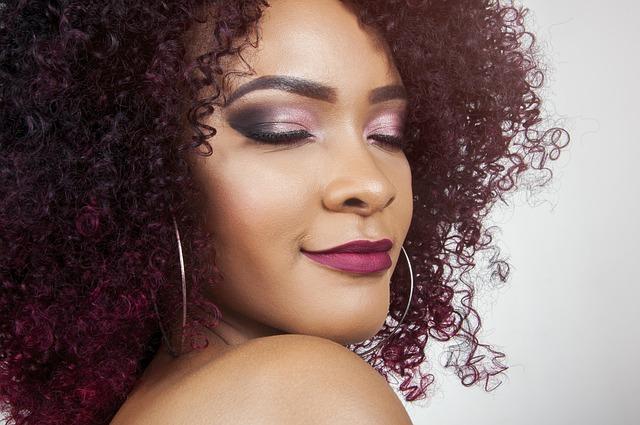
How To Crochet Curly Hair ? If you’ve ever admired the bouncy curls of a friend or a stunning hairstyle on social media, you’re not alone! Crocheting curly hair is a fun, creative process that allows you to achieve that fabulous look without breaking the bank at the salon. In this article, we will dive deep into the magical world of crocheted curly hair, guiding you through every step of the process with a sprinkle of humor and a dash of style.
Understanding Crochet Hairstyles
Crochet hairstyles are simply phenomenal! They provide versatility, protection, and just the right amount of style. Whether you’re looking to switch up your hair game for a special occasion or simply want to give your natural locks a break, crocheting curly hair can do just the trick.
When people hear about crochet hair, they often think of the technique itself and how it opens up a world of possibilities. It’s like painting on a blank canvas! In this section, we’ll cover the basics of crochet hairstyles, their benefits, and why curly options are especially fabulous.
Benefits of Crochet Curly Hair
Durability: Crochet hairstyles can last for weeks, allowing you to enjoy your fab curls without worrying about daily styling.
Versatility: With so many curl types available, from tight ringlets to loose waves, you can change your look as often as you change your mood!
Less Maintenance: Say goodbye to the daily wash-and-go routine! Crochet curls are relatively low maintenance, giving you more time to sip your morning coffee or binge-watch your favorite series.
Protective Style: For those looking to protect their natural hair, crocheted styles shield your locks from heat damage and environmental stress.
Y’all, the benefits are just too good to pass up! Now that we’ve set the scene, let’s move on to the actual process of crocheting those gorgeous curls.
Choosing Your Materials
Before embarking on your crochet journey, let’s gather everything you need. The right materials will elevate your experience and, let’s be honest, who doesn’t love a well-planned craft day? Here’s a quick checklist of what you’ll need:
- Crochet Hook: Opt for a hook size suitable for your chosen hair fibers. A 0.75 mm to 1.0 mm hook usually works well for textured hair.
- Hair Fiber: There are numerous options available! Choose bulk hair or pre-curled synthetic fibers that match your style. Brands like Freetress and Janet Collection offer fabulous curly options.
- Hair Care Products: A good leave-in conditioner and hair oil will keep your curls nourished and healthy throughout the wear.
- Scissors: Trust me; you don’t want to be caught without a pair when it’s time to finesse those curls.
- Hair Clips: These will be your besties while sectioning your hair, making the whole process smoother.
Now, let’s get into the nitty-gritty of the crocheting process, where all the magic happens!
Preparing Your Hair
Healthy, fabulous hair is the first secret ingredient when learning how to crochet curly hair. Before you jump into crocheting, here’s how to prepare your natural hair for the crochet process.
Cleansing and Moisturizing
The first step is essential! Start with freshly washed, conditioned hair to ensure that your natural curls are clean and ready for their new friends. Use products that hydrate and define your natural texture. Here’s a small table with recommended products for cleansing and moisturizing:
| Step | Recommended Products |
|---|---|
| Cleanse | SheaMoisture Curl and Shine Shampoo |
| Condition | Paul Mitchell The Conditioner |
| Moisturize | Cantu Shea Butter Leave-In Conditioning Repair Cream |
Detangling
After cleansing and conditioning, it’s time to detangle those lovely locks! Using a wide-tooth comb or your fingers, carefully detangle your hair in sections. This step is super important to ensure that your natural hair lays flat and meshes well with the curly fibers.
Sectioning
Time to grab those clips! Create manageable sections of your hair, which will make crocheting easier and less overwhelming. Aim for small to medium sections. This way, you’ll get that flawless look and make progress more smoothly—whoop whoop!
Crocheting the Curly Hair
Alright, my hair queens! Now we get to the “how to crochet curly hair” part that everyone’s been waiting for. Gather your materials, take a deep breath, and let’s start crocheting!
The Crocheting Process
- Insert Hook: Take your crochet hook and insert it into the base of your natural hair where you want to attach the curly piece.
- Grab the Curl: Place your pre-curled hair fiber onto the hook. Make sure it’s positioned correctly so that it’s easier to pull through.
- Pull Through: With technique and finesse, pull the hair fiber through until there’s a loop on your hook. Keep about an inch of fiber hanging.
- Knotting: Wrap the long end of the curl around the hook, pull it through the loop, and tighten. Repeat this step to ensure the curl is securely attached, adjusting as needed for density.
- Repeat: Move along your sections and repeat the process, mixing different curl patterns and sizes for a more natural look.
Tips for a Flawless Finish
- Mix and Match: Use different curl patterns for a more dynamic hairdo. Consider using a mix of loose curls and tighter ringlets, mimicking the randomness of natural hair.
- Staggering: Stagger your curls when crocheting to prevent gaps and ensure fullness.
- Puff it Up: Once you’ve finished attaching the curls, you can fluff them up gently. This helps achieve that voluminous, effortless look!
Caring for Your Crocheted Curly Hair
You’ve crocheted your beautiful curls, but wait! The care doesn’t stop there. Ensuring longevity and health for your curls is essential. Here are the best practices for maintaining your fabulous crocheted curly hair.
Regular Maintenance
- Moisturize: Keep those curls hydrated! Use a lightweight leave-in conditioner. Spritz with water or a hair mist every few days.
- Avoid Over-manipulation: As tempting as it is to play with your curls, try to avoid pulling and tugging too much to keep them looking fresh.
- Sleep with Care: Don’t forget about your beauty sleep! Consider wearing a satin scarf or bonnet to protect your curls while you dream.
Reviving Those Curls
After a week or so, your curls may need a little pick-me-up. You can easily revitalize them with water, conditioner, and a bit of styling product. Just scrunch and twist those curls back to life!
Removal of Crocheted Curly Hair
When your fabulous crocheted curls have run their course, it’s time for removal. This step is just as important as the application! Here’s how to do it with love and care:
- Detangle: Start by gently detangling the hair using your fingers.
- Snip: Carefully snip the knots where needed. Avoid cutting your natural hair—yikes!
- Break down the sections: Remove the crochet hair section by section, being gentle as you go.
- After-care: Treat your natural hair to a deep conditioning treatment post-removal.
Conclusion and Culinary Creation of Curls
Learning how to crochet curly hair may seem daunting at first, but with practice and patience, it can turn into a delightful experience! With some fabulous curls, you’ll feel empowered and ready to strut your style. Remember, beautiful curls do not only come from the right technique but also from the love and care you give to your natural hair.
So grab those colorful fibers, channel your inner stylist, and let’s create some fabulous looks. Because at the end of the day, life is too short not to rock those stunning curls!
For additional resources and inspiration, check out these fantastic articles: blank”>Crochet Guide and blank”>Natural Hair Care Tips. Happy crocheting, beauties!