When it comes to looking flawless, one of the most important skills a girl can have is knowing how to conceal blemishes with makeup. Whether you’re dealing with a pesky pimple, a stubborn dark spot, or a smattering of rosacea, the right makeup techniques can work wonders. Fear not, my fabulous friends! With a few tips and tricks, you can be on your way to a flawless face in no time. So, grab your makeup kit and let’s embark on this beautiful journey together!
Understanding Your Blemishes
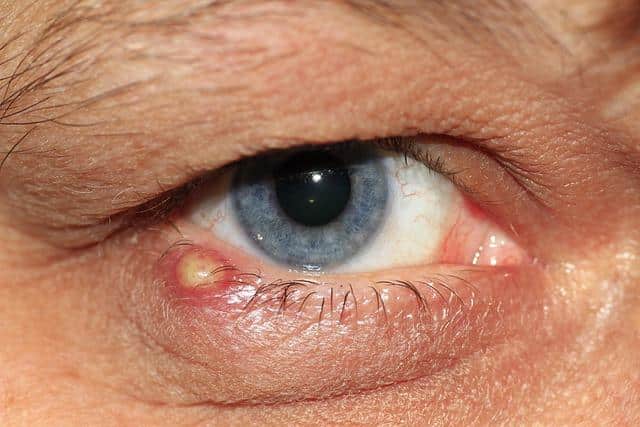
Before diving headfirst into the world of concealers and color correctors, let’s take a moment to understand what we’re up against. Blemishes can come in all shapes and sizes, from light freckles to full-blown acne, and each type requires a different strategy for coverage.
Types of Blemishes
- Acne: These can be inflamed (think red and raised) or non-inflamed (like blackheads and whiteheads). Treat these pesky visitors with a color-correcting technique to reduce their appearance.
- Dark Spots: Often a result of sun exposure or old acne scars, dark spots need a bit more love and attention with a good concealer to blend in seamlessly with your natural skin tone.
- Redness: This can be due to rosacea or just plain old irritation. A green color corrector works wonders to neutralize that redness.
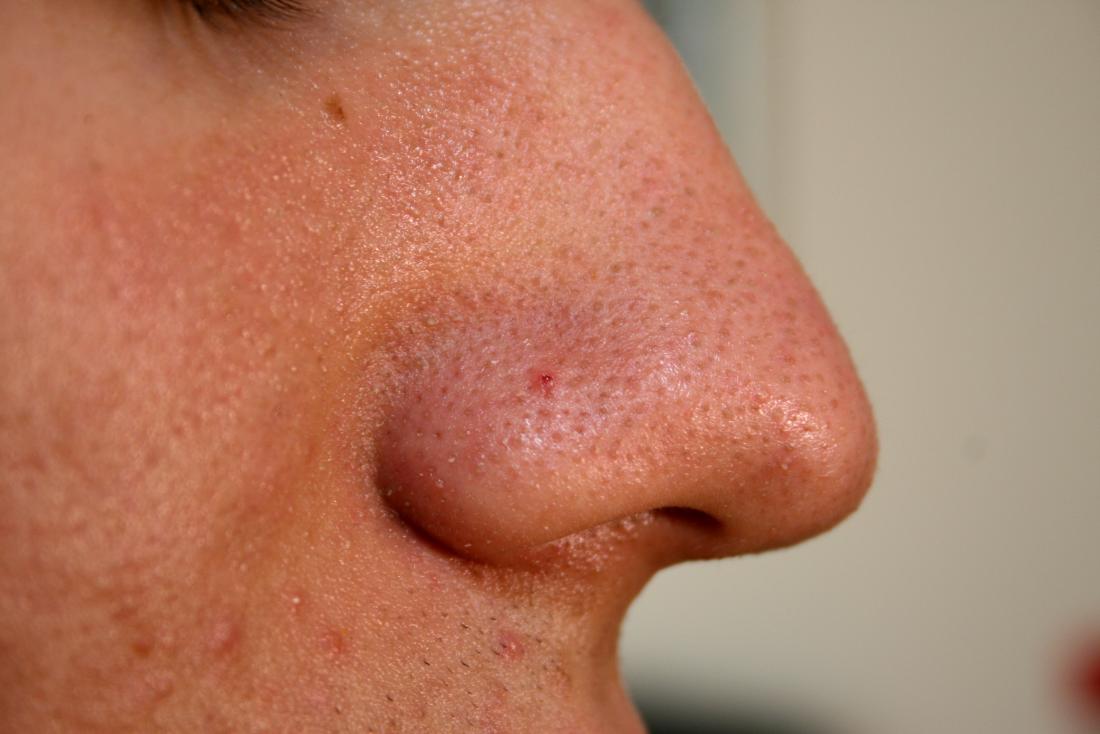
- Pores and Texture: While not technically blemishes, large pores and uneven texture can also benefit from clever makeup application. A good primer is key here!
Knowing your skin type and the nature of your blemishes is half the battle. Now, let’s chat about what products you’ll need to tackle this.
Essential Makeup Products for Concealing Blemishes
Having the right products can make all the difference when it comes to knowing how to conceal blemishes with makeup. Here’s a list of essentials:
Color Correctors
Using color theory can work in your favor! Before jumping straight to concealer, try using color correctors to help neutralize the undertone of your blemish.
- Green: Perfect for canceling out redness.
- Yellow: Great for hiding purple under-eye circles or bruises.
- Peach/Orange: Best for covering blue or purple tones, such as dark circles on deeper skin tones.
- Lavender: Ideal for combating sallow or yellow undertones.
Concealers
A trusty concealer is a must-have in your makeup arsenal. Look for one that offers full coverage but is also blendable. Here are some options:
- Cream Concealer: Excellent for dry skin and offers thick coverage.
- Liquid Concealer: Perfect for normal and oily skin types; it tends to be light and buildable.
- Stick Concealer: Ideal for on-the-go touch-ups; just be cautious if you have dry skin as it can emphasize texture.
Foundation
A lightweight foundation that provides buildable coverage is your best friend. It should perfectly match your skin tone to seamlessly blend with your concealer.
Setting Powder
This magical dust helps to lock in your makeup and keep any pesky blemishes from peeking through during the day. A translucent setting powder is great for all skin types.
Step-by-Step Guide on How to Conceal Blemishes With Makeup
Now that we have our products, let’s dig into the nitty-gritty of how to conceal blemishes with makeup. Follow these steps to achieve a flawless finish.
Step 1: Prep Your Skin
A flawless makeup application starts on clean, well-moisturized skin. Cleanse, exfoliate, and moisturize to create a smooth canvas. Consider using a hydrating primer that suits your skin type.
Step 2: Color Correction
This step is essential if you’re dealing with angry red pimples or stubborn blue circles under your eyes. Remember to use a very light hand with color correctors, as too much can lead to a muddy look.
- For Redness: Dab a little green corrector on the blemish and blend with your finger or a brush.
- For Dark Circles: Apply peach or orange corrector, blending gently around the area.
Step 3: Apply Concealer
With your color corrector in place, it’s time for concealer. Here’s how to apply it effectively:
- Use a small brush or your fingertip to dab the concealer over the blemish.
- Gently tap to blend, being careful not to disturb the color corrector below.
- For larger areas or dark spots, you can layer your concealer for increased coverage.
Step 4: Foundation Time
Once your concealer is seamlessly blended, it’s time to even out your skin tone with foundation.
- Use a damp beauty sponge for a natural finish, or a brush for more coverage.
- Avoid sweeping the sponge over your blemished area to keep that perfect concealer intact.
Step 5: Set it with Powder
To ensure that your hard work lasts, dust a light layer of translucent setting powder over your face, especially on any areas prone to oiliness. This will help prevent any makeup from settling into your pores and emphasize any textural flaws.
Step 6: Finish with Setting Spray
A spritz of setting spray will help to meld your makeup together and remove any powdery appearance, giving you that gorgeous, dewy finish we all crave.
Additional Tips for Blemish-Free Beauty
Knowing how to conceal blemishes with makeup doesn’t end with the application steps. Here are some extra tips to keep in mind:
- Less is More: When it comes to concealers, applying thin layers is better than caking it on.
- Choose the Right Tools: Depending on what you’re covering, you might want to switch between brushes, sponges, and fingers for different effects.
- Highlight Your Best Features: Focus on brightening the areas that stand out like your beautiful eyes or cheekbones to draw attention away from blemishes.
- Be Mindful of Ingredients: If you’re prone to blemishes, choose products that are non-comedogenic to avoid clogging your pores.
Common Mistakes in Blemish Concealing
Even the best makeup lovers can sometimes make a mistake when it comes to covering blemishes. Here are a few common pitfalls and how to avoid them:
- Skipping Skincare: Never skip your skincare routine! Taking care of your skin is essential for a smooth makeup application.
- Ignoring the Color Wheel: Don’t underestimate the power of color-correcting products. They can make a world of difference.
- Using the Wrong Shade: Always test concealer shades on your jawline or wrist in natural light before committing.
- Overapplying: Too much product can make blemishes more noticeable. Build up coverage gradually.
As you embark on your makeup adventures, remember that learning how to conceal blemishes with makeup is all about practice. Playing with different products and techniques is the key to discovering what works best for you.
Conclusion
concealing blemishes is an art that requires patience, the right products, and some fabulous techniques. Don’t forget to embrace your beauty, blemishes and all! You are a stunning masterpiece, darling! So get out there, rock that flawless face, and remember that with the right makeup skills, you can conquer anything.
For more awesome beauty tips and tricks, check out Elle’s Makeup Hacks and Byrdie’s Guide to Concealers.
Happy concealing, lovelies! 💖