How To Clean Makeup Sponges? It’s the ultimate question every makeup lover faces! Makeup sponges can be an absolute game changer for achieving that flawless look, but they can also become a breeding ground for bacteria if not cleaned properly. Let’s dive into the fabulous world of makeup sponge care and explore how to keep these beauty tools in tip-top shape!
Understanding the Importance of Cleaning Makeup Sponges
Cleaning your makeup sponges isn’t just a chore; it’s an essential part of your beauty routine. When you apply makeup, you’re transferring oils, sweat, and residue from your skin to the sponge. Over time, if you don’t clean your sponges, they can harbor nasties like bacteria and mold, which can lead to breakouts and skin irritation. Regularly washing your favorites ensures that they perform at their best, helping you to achieve that dewy, airbrushed finish we all love.
So why is it crucial to clean makeup sponges? Here’s a snazzy breakdown:
- Prevents Bacteria Growth: Bacteria love to party on dirty sponges. Cleaning them removes potential acne triggers, keeping your skin clear and radiant.
- Enhances Makeup Application: A clean sponge provides a smoother, more even application of foundation and concealer. Who doesn’t want that picture-perfect glow?
- Extends Sponge Life: Proper cleansing techniques can increase your sponge’s lifespan, saving you those precious bucks for more lipsticks.
So, grab your favorite sponge and keep your skincare game strong!
How To Clean Makeup Sponges: Step-by-Step Guide
Essential Supplies for Cleaning Makeup Sponges
Before getting into the nitty-gritty, you need to gather a few must-have supplies to clean makeup sponges effectively. Here’s a very cute checklist for you:
| Supplies | Purpose |
|—————————-|————————————————–|
| Gentle soap or cleanser | To wash away makeup residue |
| Bowl or sink | For soaking and rinsing |
| Clean towel or paper towel| For drying the sponges |
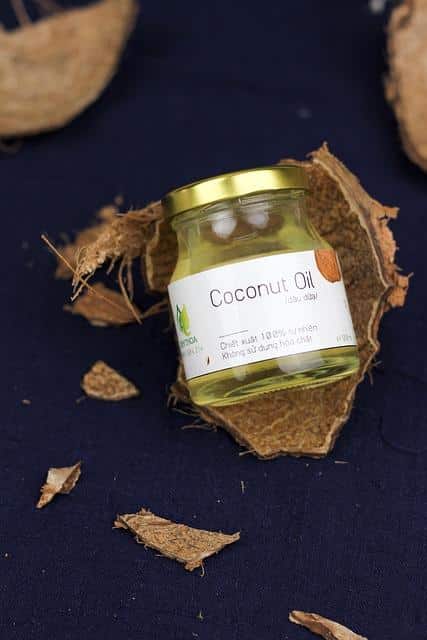
| Optional: Olive oil or coconut oil | For deep cleaning and conditioning |
The Simple Washing Method
Cleaning your makeup sponge couldn’t be easier! Here’s how to do it in just a few steps:
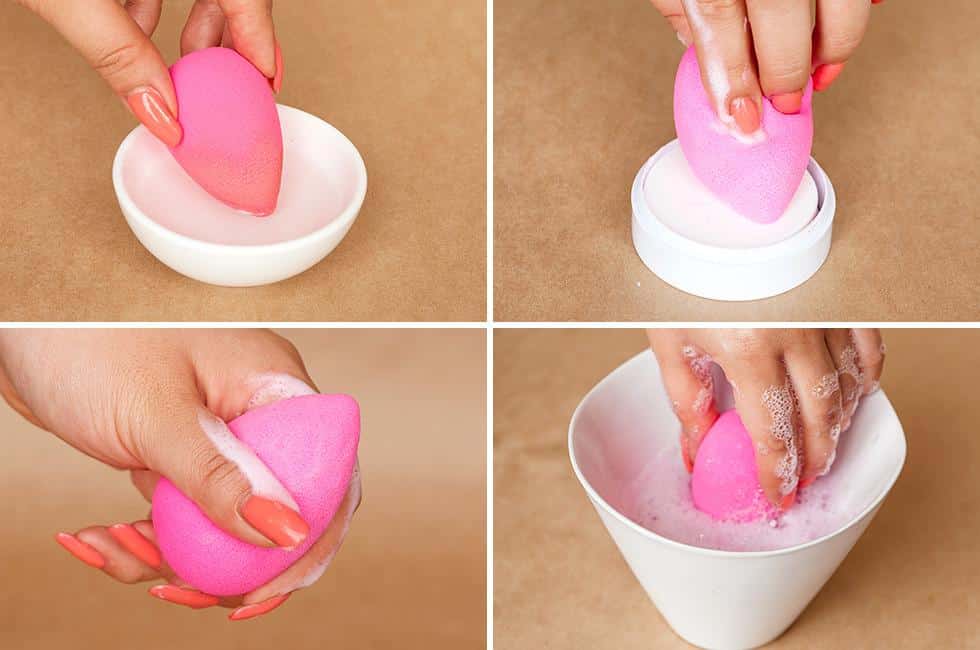
- Wet the Sponge: Start by running your sponge under warm water. Make it nice and squishy!
- Apply Cleanser: Use a gentle soap or a cleanser specifically designed for sponges. Squeeze a small amount onto the sponge—or just pour it into your palm.
- Lather Up: Rub the sponge gently between your palms or use your fingertips to create a nice lather. Be careful not to tear that beauty!
- Rinse Thoroughly: Hold the sponge under running water to rinse out soap and makeup residue. Keep rinsing until the water runs clear.
- Squeeze & Dry: Gently squeeze the sponge to remove excess water (no wringing), then lay it flat on a clean towel or a drying rack.
The Deep Cleaning Method
For those sponges that are looking a little worse for wear, a deep cleaning session may be necessary. Here’s a more intensive cleaning process:
- Create a Soaking Solution: Fill a bowl or sink with warm water and add a few drops of your gentle cleanser or even a bit of olive or coconut oil. These natural oils not only cleanse but condition your sponge!
- Soak Away: Place your sponge in the mixture and let it soak for about 10-15 minutes. This helps to break down stubborn makeup residue.
- Swirl and Scrub: After soaking, gently swirl the sponge around in the water. You can use your fingers to massage it a bit for extra cleanliness.
- Rinse Well: Just like before, rinse your sponge under warm water, ensuring all soap and oil are removed.
- Air Dry: Lay your sponge flat on a towel or drying rack, letting it dry completely before storing it away.
Key Tips for Maintaining Your Makeup Sponges
Now that you know how to clean makeup sponges, let’s talk about how to maintain them for longevity. Follow these fabulous tips, and your sponges will thank you!
- Clean After Every Use: Ideally, give your sponge a quick rinse or light clean after each use, especially if you’re using it for cream products.
- Use Separate Sponges: If you love experimenting with different products, consider using separate sponges for liquids, creams, and powders to avoid color changes and unwanted contamination.
- Know When to Toss: Even the cutest makeup sponges have a lifespan. Look for signs of wear and tear or funky smells. If it’s time to say goodbye, treat yourself to a new one!
Understanding Different Cleaning Products
When it comes to cleaning your sponges, not all products are created equal! Here’s a quickcomparison of commonly used options:
| Product | Pros | Cons |
|—————————-|—————————————————|————————————————-|
| Makeup Sponge Cleanser | Specifically designed for sponges; often gentle | Can be pricier than regular soap |
| Baby Shampoo | Gentle surfactant; often very mild | May not cut through heavy makeup easily |
| Dish Soap | Effective for heavy makeup; budget-friendly | Can be drying if used excessively |
| Natural Oils (Olive or Coconut) | Moisturizing properties; excellent for deep cleaning | Need thorough rinsing to avoid residue |
Conclusion: The Glamorous Aftermath of Cleaning Makeup Sponges
So there you have it! Now you’re armed with all the fabulous knowledge on how to clean makeup sponges effectively. Keeping your sponges spotless not only ensures your makeup looks divine but also keeps your skin healthy and breakout-free!
Whether you prefer the basic wash or a deep clean, following these simple steps will keep your beloved sponges in prime condition. Don’t forget to show some love to your tools every now and then, and you’ll be glowing with confidence in no time!
And just remember—cleaning doesn’t have to be boring. Blast your favorite tunes, turn it into a mini self-care session, and enjoy the process! Let’s keep those sponges looking fabulous and, more importantly, germ-free!
For more tips and fantastic beauty advice, check out blank”>Harper’s Bazaar and blank”>Allure for inspiration! Happy cleaning, beauties! 🌸💖