Making your own lip balm at home is not only a delightful and eco-friendly project but also a fun way to indulge in some DIY self-care! With a few natural ingredients, including the star of the show—beeswax—anyone can craft their own custom lip balm. So, let’s dive into the fantastic world of lip balm creation and explore how to make a luscious lip balm using beeswax.
Understanding the Benefits of Beeswax in Lip Balm
Oh my goodness, beeswax is like, totally amazing! It’s not only natural but also has some fabulous properties that make it perfect for lip balm. Here are a few benefits of beeswax:
- Natural Barrier: Beeswax helps create a protective barrier on your lips, sealing in moisture without clogging your pores. Talk about a hydration hero!
- Anti-Inflammatory Properties: It can soothe and calm irritated skin. If your lips are feeling a little cranky, beeswax can come to the rescue.
- Long-lasting Moisture: Unlike many synthetic ingredients, beeswax doesn’t evaporate quickly, keeping your lips moisturized for a longer time.
- All-Natural: Unlike store-bought balms often filled with chemicals, beeswax is natural, making your homemade balm guilt-free and perfect for your pout!
Gathering the Ingredients and Supplies
Before we jump into how to make lip balm with beeswax, let’s gather all the fabulous supplies we’ll need. Here’s a handy list:
| Ingredient | Purpose |
| Beeswax Pellets | Base for the lip balm, providing structure |
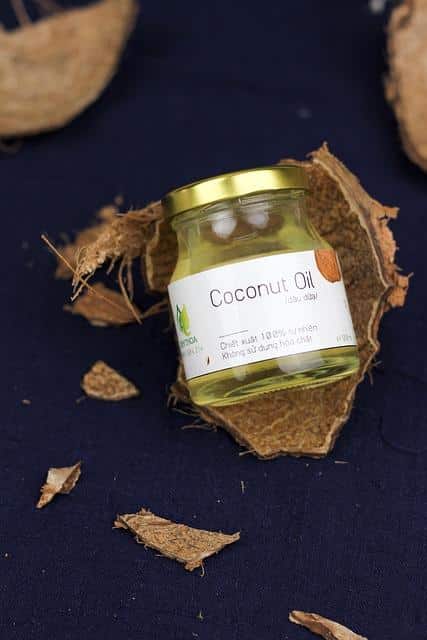
| Carrier Oils (like Coconut or Almond Oil) | Moisturizing agents |
| Essential Oils (like Peppermint or Lavender) | Add fragrance and flavor |
| Shea Butter or Cocoa Butter | Extra creaminess and hydration |
| Containers (small tins or tubes) | To hold your fabulous lip balm |
Having everything prepped and ready to go makes the process so much easier and more fun. It’s like prepping for a cute little cooking date with yourself!
Step-by-Step Process of Making Lip Balm with Beeswax
Now that we have our ingredients ready, let’s get down to the juicy part: how do you make lip balm with beeswax? It’s simpler than you might think!
Step 1: Melting the Beeswax and Oils
Start by measuring out your beeswax pellets. A good starting point is about 1 part beeswax, 2 parts carrier oil, and 1 part butter. For example, use 1 tablespoon of beeswax, 2 tablespoons of coconut oil, and 1 tablespoon of shea butter.
- Tip: For a more personalized touch, you can mix different carrier oils to see which one your lips love most!
Now, place the combined ingredients in a double boiler. If you don’t have one, just place a glass bowl over a pot of simmering water (make sure the bowl doesn’t touch the water). Stir occasionally until everything is melted and combined beautifully—think of it as whipping up a special potion just for your lips!
Step 2: Adding Essential Oils
Once everything is melted, it’s time for the magic touch! Remove your bowl from the heat and let it cool slightly before adding your essential oils. This prevents the heat from evaporating the lovely scents.
- Essential Oil Suggestions:
– Peppermint Oil: For a refreshing tingle
– Lavender Oil: For a calming, floral experience
– Vanilla or Orange Oil: For something sweet and delightful
Just a few drops will do! Mix well to combine.
Step 3: Pouring Into Containers
Next, it’s time to pour your lip balm mixture into your containers! Be sure to work quickly here, as the blend will start to harden as it cools.
- Pro Tip: Use a small funnel or dropper for precise pouring—no one wants lip balm on their kitchen counter!
Set the filled containers aside and allow them to cool completely. You can play the waiting game by distracting yourself with your favorite show or some yummy snacks while you revel in the excitement of what’s to come!
Step 4: Enjoying Your DIY Lip Balm
Once everything is cooled and set, you have your very own lip balm ready for use! How do you make lip balm with beeswax? Well, you’ve just nailed it!
Apply liberally to your lips, and get ready to enjoy all those compliments on how soft and kissable they are. Just be prepared to share your secret because everyone will be asking how you did it.
Experimenting with Colors and Scents
One of the best parts about making your own lip balm is that you can get super creative! If you’re feeling adventurous, try adding a touch of natural color. Here’s how:
- Add Natural Tints: You can incorporate a small amount of beetroot powder for a pink hue or some cocoa powder for a chocolatey tint.
- Combine Fragrances: Mix different essential oils to create your signature scent. Maybe a little citrus zest with some floral notes? Yum!
Feel free to mix and match until you find your dreamy combination. Your lips deserve all the fun, right?
FAQs About Making Lip Balm with Beeswax
Here, we’re tackling some common questions about our beeswax lip balm-making adventure!
How long can homemade lip balm last?
With the right storage and the use of natural preservatives, your lip balm can last from 6 months up to a year! Always check for any odd smells or changes in texture before using.
Can I add vitamin E to my lip balm?
Absolutely! Vitamin E oil is a fantastic addition. It adds extra moisture and is also a natural preservative, extending the life of your balm a little longer.
Why is my lip balm too hard?
If your lip balm feels more like a rock than a lovely smooth formula, you’ve added too much beeswax. Just pop it back in the double boiler with a bit more carrier oil and gently melt it down to the desired consistency.
Conclusion on How to Make Lip Balm with Beeswax
Making your own lip balm with beeswax is not only simple but also an extremely rewarding experience. You get to take control of the ingredients, create delicious scents, and add personal flair—talk about a win-win! Whether you keep it all for yourself or gift them to friends, you can trust that DIY beeswax lip balm will leave your lips feeling nourished and oh-so-kissable.
So grab those ingredients, throw on your favorite apron, and get ready to unleash your inner DIY diva! And remember, every time someone asks you about your fabulous lips, just smile and share the sweet secret: it all started with beeswax!