Making mascara at home can be a delightful and creative adventure for beauty enthusiasts! Let’s dive into the fabulous world of DIY mascara and discover not only how to make it but also how to tailor it to your own unique style.
Understanding Mascara Ingredients
Before jumping into the delightful process of making mascara, let’s first explore what mascara is typically made of. The foundation of any great mascara lies in its ingredients. Understanding these components will help you create a formula that not only enhances your lashes but also nurtures them!
Key Ingredients in Commercial Mascara
When looking at commercial options, here are some of the essential ingredients often found in those little tubes:
- Wax: Natural waxes such as beeswax or carnauba wax are used to give mascara its thick texture and help it stay on your lashes.
- Pigments: Usually carbon black or other colorants, pigments provide the beautiful, bold color that makes lashes pop.
- Oils: Ingredients like castor oil or jojoba oil nourish lashes and help to keep them hydrated.
- Preservatives: These are necessary to prevent bacteria growth, especially since mascara is often applied close to the eyes!
Your DIY mascara might use some of these same ingredients, but let’s explore how you can create your unique blend!
How Do You Make Mascara with Simple Ingredients
Making mascara at home can be simple, fun, and totally customizable! Here’s a basic recipe to whip up your DIY mascara!
Ingredients You’ll Need
Basic DIY Mascara Recipe:
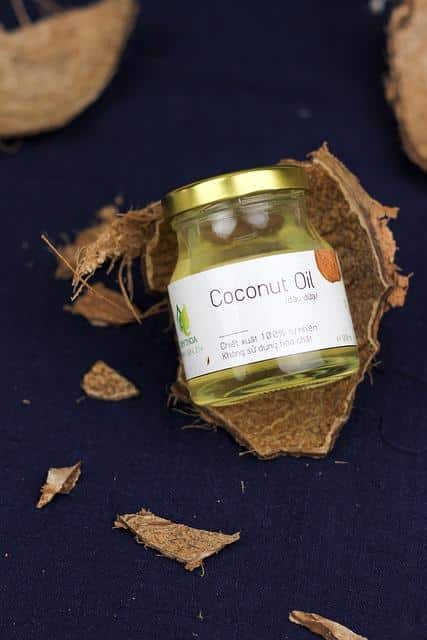
- 1 tablespoon of coconut oil
- 1 tablespoon of aloe vera gel
- 1 teaspoon of activated charcoal (for color)
- 1 teaspoon of beeswax (for thickness)
- 1-2 drops of vitamin E oil (as a preservative)
Step-by-Step Guide to Making Your Mascara
- Melt the Beeswax: Start by melting your beeswax and coconut oil together in a double boiler over low heat. Stir constantly until the mixture is completely melted.
- Add Aloe Vera Gel: Once your wax and oil mixture is smooth, remove it from heat and blend in the aloe vera gel. You want to create a creamy consistency that feels luxurious!
- Incorporate Activated Charcoal: At this point, slowly add the activated charcoal to your mixture. Stir well until you achieve your desired color. You may want to experiment with this for a softer or more dramatic effect!
- Add Vitamin E Oil: As a bonus, add a couple of drops of vitamin E oil. It helps preserve your mascara and adds a little nourishment to your lashes!
- Transfer to a Container: Pour your fresh DIY mascara into a clean, empty mascara tube. Let it cool and solidify completely before using.
And voilà, darling! You’ve successfully made your own mascara!
Tailoring Your Mascara Experience
What’s so fabulous about making mascara is that you can truly customize it to fit your needs!
Adjusting the Consistency
- For a Thicker Formula: Add a little extra beeswax. This adds volume and helps the mascara hold its shape throughout the day.
- For a Thinner Formula: Use a bit more aloe vera gel or coconut oil, which makes the formula glide on smoothly without clumping.
Choosing Your Color
While black is fabulous, don’t shy away from color!
- Brown Mascara: You can create a softer, natural look by reducing the amount of activated charcoal.
- Fun Colors: Add safe cosmetic-grade pigments to create vibrant blues, purples, or greens for added flair!
Storage and Shelf Life
How you store your homemade mascara will greatly impact its shelf life, so let’s make sure you’re all set!
- Make sure to use clean, airtight containers to store your mascara.
- Keep it in a cool, dry place away from sunlight.
- Aim to use your mascara within 3-6 months to ensure its freshness and effectiveness.
The Benefits of Homemade Mascara
Creating your homemade mascara is not just fun but brings about so many benefits!
Natural Ingredients
By making your own mascara, you can control what goes on your lashes! Say adieu to harmful chemicals and hello to nourishing ingredients.
Customization
You have full creative control! Play with different textures, colors, and ingredients to find the perfect formula that works for you.
Cost-Efficiency
Let’s be real, beauty products can get a little pricey! Making your mascara at home is both economic and rewarding.
Troubleshooting Common Issues
Even the best of us face challenges when it comes to DIY projects! Here are some common issues and how to fix them:
Clumping
If you find your mascara is clumping, consider reducing the amount of beeswax and increasing the oil content slightly. This will help it glide on smoothly.
Dryness
If your mascara tends to dry out too quickly, try adding a few drops of water or aloe vera gel to rejuvenate it.
Conclusion
So there you have it, lovely! Making your own mascara is not only fun but also a creative way to elevate your beauty routine! By understanding how do you make mascara, you can enjoy all the benefits of a handmade product—free from harmful chemicals, fully customizable, and easy on your pocket. Connect with your beauty, embrace your creativity, and flaunt those luscious lashes with love!
Additional Resources
For more tips on natural beauty, check out Elle’s natural makeup recipes and start your journey towards a vibrant beauty routine! Also, you can read further on how to keep your beauty tools clean, ensuring a safe makeup experience.
Happy crafting, gorgeous gals!