Eyeliner is that little magic wand of beauty that can transform your eyes from “just woke up” to “gorgeous diva” in just a few swipes! But have you ever found yourself wondering, how do you make eyeliner? Whether you’re on a budget or simply looking for a fun DIY project, creating your own eyeliner can be a fabulous way to express your creativity and style. Let’s dive into the colorful world of eyeliner-making!
Types of Eyeliner and Their Characteristics
When exploring how do you make eyeliner, it’s essential to understand the different types available. Each type can potentially influence your look and application method.
Liquid Eyeliner
Liquid eyeliners are perfect for creating sleek, dramatic lines. These products typically feature a small brush for precise application. They dry quickly and are long-lasting, making them a favorite among makeup enthusiasts for winged looks.
Gel Eyeliner
Gel eyeliners are a hybrid option, providing the ease of a pencil and the intensity of a liquid. They glide on smoothly and can be easily blended, which makes them ideal for softer looks. Plus, they usually come in pots, making them quite easy to apply with a precision brush.
Pencil Eyeliner
Pencil eyeliners are classic and super easy to use! They’re ideal for beginners and available in a rich variety of shades. Did we mention that they come in both retractable and traditional sharpening options? That’s right, pencils are like the little black dress of your makeup collection!
Cream Eyeliner
Cream eyeliners offer a smooth application that dries down but remains slightly softer than gel liners. They’re often used for more blended or smoky eye looks and can be applied with various brushes for different effects.
Felt Tip and Marker Eyeliners
These clever tools are super user-friendly and fantastic for getting that perfect winged liner. If you’re a newbie, these can be your best friend. Their felt tip lets you play around with various line widths while keeping it fun and sleek!
Creating Your Own Eyeliner at Home
So, you’ve decided to take the plunge! Here comes the fun part: how do you make eyeliner at home? Let’s whip up some fabulous DIY options using ingredients that might already be lounging in your beauty cabinet or kitchen!
Basic Ingredients for Homemade Eyeliner
When crafting your eyeliner, the ingredients are quite vital. Here are some key components you might need:
- Activated Charcoal: Perfect for that deep black color.
- Cocoa Powder: For a soft brown shade.
- Aloe Vera Gel: Helps bind the powder, giving a smooth texture.
- Water: To thin out the mixture to your desired consistency.
- Essential Oils: Optional, for adding a lovely scent (and keeping it skin-friendly!).
DIY Pencil Eyeliner Recipe
This easy recipe makes a lovely, creamy pencil eyeliner that glides on beautifully!
Ingredients:
- 1 teaspoon of beeswax (for thickness)
- 1 teaspoon of activated charcoal (for color)
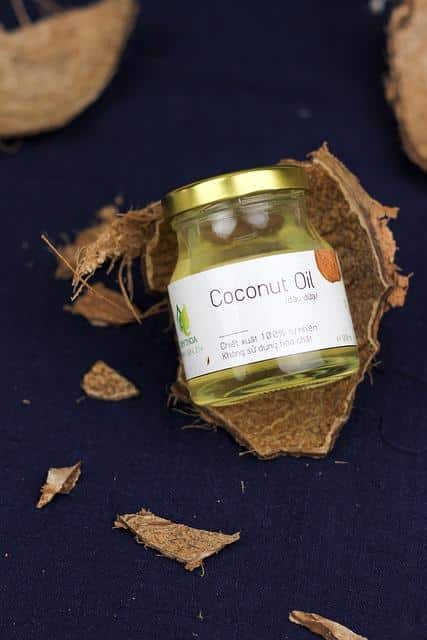
- 1 teaspoon of coconut oil (for smooth application)
Instructions:
- Melt: In a double boiler, melt the beeswax and coconut oil together.
- Mix: Once melted, remove the mixture and carefully whisk in the activated charcoal until smooth.
- Pour: Quickly pour the mixture into a pencil eyeliner tube (or any small container) before it hardens.
- Cool: Allow to cool, and voilà! You’ve got yourself a fab pencil eyeliner.
DIY Liquid Eyeliner Recipe
If you’re dreaming of that sultry liquid look, this quick DIY will get you there!
Ingredients:
- 1 teaspoon of activated charcoal
- 1 teaspoon of water
- ½ teaspoon of aloe vera gel
Instructions:
- Combine: In a small bowl, mix the activated charcoal and aloe vera until you have a thick paste.
- Add Water: Slowly mix in water until you achieve your desired consistency.
- Store: Transfer to a small bottle or jar with a dropper.
Tips for Application
Now that you know how to make eyeliner, let’s talk about how to apply it! Here are some fabulous tips to get your eyeliner game on point:
- Steady Hand: Rest your elbow on a flat surface, and gently pull your eyelid taut. This will give you more control!
- Start Small: For beginners, it’s best to start with a thin line and build up gradually until you achieve your desired thickness.
- Smudge for a Smoky Look: Use a clean brush or your fingertip to smudge liner for a soft, smoky finish.
Color Options for Eyeliner
Who says eyeliner has to be black? The colors you choose can completely change your vibe! Here’s a quick chart with fun colors:
| Color | Look |
| Black | Classic and sophisticated |
| Brown | Soft and natural |
| Green | Bold and playful |
| Blue | Fun and trendy |
| Purple | Chic and stylish |
Storing Your Homemade Eyeliner
You’ve put in the effort to create your fabulous eyeliner, so let’s make sure it stays fresh! Here are tips on storing your creations:
- Cool Dry Place: Store your eyeliners away from heat and humidity.
- Tightly Sealed: Use containers with tight lids to prevent contamination.
- Expiration Date: Keep an eye on your creation. Homemade products typically last up to six months!
Conclusion
Now you’re armed with all the tools to answer the burning question: how do you make eyeliner? From choosing types of eyeliner and whipping up your own homemade versions to mastering the art of application, you’re all set to elevate your eye game. So go ahead, flaunt those fabulous eyes, and let your creativity shine!
For more tips and tricks about beauty, check out this resource or dive into these expert recommendations. Now, get out there and show the world your stunning new looks!