Creating your own makeup foundation can be such a delightful adventure! Imagine mixing up your own perfect shade—not too pale, not too dark, just right for your lovely skin tone. Plus, isn’t it just a tad more personal? If you’re interested in how to make a makeup foundation, you’ve come to the right place! Let’s dive into the world of creating that flawless base that makes your skin glow like a shimmering star, all while making sure you look fabulous doing it.
Understanding Base Ingredients for Makeup Foundation
To make a fabulous makeup foundation, it’s key to understand the basic ingredients that can be blended to achieve your desired formula. Here are the main components you’ll need to play with:
Liquid Ingredients
- Water: The base of most liquid foundations; it hydrates the skin and allows for a smooth application.
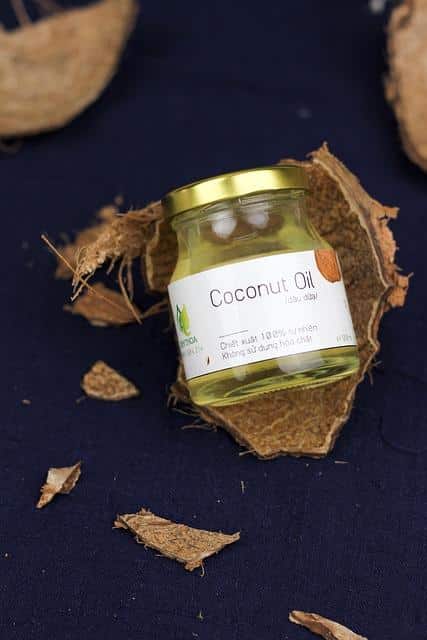
- Oil: Essential for achieving that rich, creamy texture; options include jojoba oil, almond oil, or coconut oil—yum!
- Silicone: For that velvety feeling on the skin and a smoothing effect (think: beauty sleigh).
Thickeners and Emulsifiers
- Beeswax: Provides a thicker texture and helps emulsify the mixture.
- Xanthan Gum: A natural thickener that keeps your foundation from being too runny.
Pigments
- Mineral Pigments: Such as iron oxides are used to create color and coverage; they can be mixed to match your complexion beautifully.
Preservatives
- Vitamin E Oil: Not only does it work wonders for skin, but it also acts as a natural preservative in your foundation.
(Note: Always be cautious of allergies and skin sensitivities when selecting your ingredients!)
Choosing the Right Shade for Your Makeup Foundation
Choosing the right shade is crucial when it comes to making a perfect makeup foundation. It’s almost like dating—finding the right match can take some time, but when it clicks, it clicks! Here’s a breakdown for selecting your ideal tone:
Identifying Your Undertone
- Warm Undertones: Look for hues with yellow, peach, or golden tones.
- Cool Undertones: Go for shades with pink, red, or blue undertones.
- Neutral Undertones: If you can’t decide, you might have a neutral undertone. Shades that are a balance of warm and cool are perfect for you!
Making Your Custom Foundation Shade
- Mixing Pigments: Use a palette knife or a small mixing bowl, and blend small amounts of the mineral pigments until you achieve your perfect shade. Test a small amount on your jawline to see how it complements your skin tone in various lights.
DIY Makeup Foundation Recipe
Now, onto the fun part—making your own foundation! Gather your ingredients, unleash your creativity, and let’s mix! Here’s a simple recipe that you can try.
Ingredients
- 1/4 cup of water
- 1 tablespoon of oil (jojoba or almond)
- 1 teaspoon of beeswax
- 1 teaspoon of mineral pigments (adjust according to your shade)
- A few drops of Vitamin E oil
Instructions
- Melt Beeswax: In a double boiler, melt the beeswax alongside your chosen oil until fully blended.
- Combine Ingredients: Slowly whisk in water to achieve a creamy consistency, followed by the pigments.
- Customize: Stir until you reach your desired color and viscosity. Hey, feel free to channel your inner chemist!
- Bottle It Up: Carefully transfer your concoction to a small bottle or jar. Let it cool down, and voilà!
Applying Your Homemade Makeup Foundation for Flawless Skin
Now that you’ve created your very own foundation, it’s essential to know how to apply it for that perfect finish. Here’s a quick guide to getting your glam on:
Tools of the Trade
- Makeup Sponge: For a flawless finish and blend.
- Foundation Brush: To smooth and distribute the product evenly.
- Fingers: Don’t knock it till you try it! Using your fingers can help warm the foundation, making it blend beautifully into the skin.
Application Steps
- Prep Your Skin: Always start with a clean, moisturized face for a smoother canvas.
- Dot and Blend: Apply small dots of foundation on your skin and use your sponge or brush to blend it in. Start from the center of your face and work your way outward.
- Build Up: If you want heavier coverage, let the first layer set, then add more as needed to the areas that require it.
- Finish It Off: Set your masterpiece with a light dusting of translucent powder, and you’re good to glow!
Care and Storage for Your Makeup Foundation
Now that you’ve whipped up your lovely potion, it’s crucial to store it properly to maintain its quality:
Suggested Storage Methods
- Cool and Dark Place: Keep your foundation out of direct sunlight and in a cool environment to avoid separation.
- Use Clean Tools: Always use sanitized tools when applying to prevent contamination.
- Shelf Life: Keep an eye out—because you used natural ingredients, it might not last as long as commercial products. Aim to use it within three months!
Benefits of Homemade Makeup Foundation
Creating your own foundation has so many perks:
- Customization: You can tailor it to your unique skin type and tone!
- Ingredients Control: You pick the ingredients; no harsh chemicals here, darling!
- Budget-Friendly: Save those dollars for your next shopping spree!
Final Thoughts on How To Make A Makeup Foundation
Creating your own makeup foundation is not just a fun DIY; it’s an opportunity to embrace your creativity and individuality. You have the power to make a product that not only suits your skin type and tone but is also free from unwanted ingredients. So, next time someone asks how to make a makeup foundation, you’ll know exactly what to say—it’s where art meets beauty! Happy mixing, lovelies!
References
For further insight and tips on makeup formulation, be sure to check out these reputable sources: Makeup Artist Magazine and Chemists Corner for deeper dives into cosmetic chemistry.
Now, go ahead and strut that look! 🍭✨