Making your own mascara might sound like a beauty adventure best left to the pros, but fear not! It can be a fun and fulfilling craft right at home. Buckle up, beauty enthusiasts, as we dive into how to make mascara that’ll have your lashes fluttering like a butterfly in no time!
The Magic Ingredients for Homemade Mascara
When it comes to how to make mascara, the right ingredients are everything! Here’s a list of what you’ll need:
Essential Ingredients
- Activated Charcoal or Cocoa Powder: For that gorgeous color!
- Aloe Vera Gel: This will condition your lashes while adding thickness.
- Witch Hazel or Distilled Water: To thin out your mixture for smooth application.
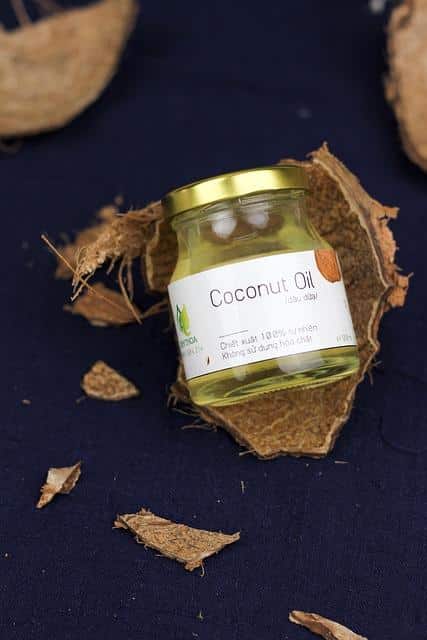
- Coconut Oil or Jojoba Oil: These natural oils keep your lashes moisturized and happy.
- Beeswax: A little waxy magic to give your mascara that staying power!
Optional Boosters
- Vitamin E Oil: For an extra nourishing boost.
- Essential Oils: A drop of lavender or tea tree can add a delightful scent and can even have benefits for your lashes.
Step-By-Step Process to Create Your Mascara
Let’s get down to the nitty-gritty of how to make mascara. Follow these easy steps, and you’ll be on your way to fluttering fabulous lashes!
Step 1: Gather Your Supplies
Collect all your ingredients and tools:
- A small bowl for mixing
- A clean mascara tube (you can reuse an old one—just sanitize it!)
- A small whisk or spoon for mixing
- A dropper for precision
Step 2: Create the Base
- Melt the Beeswax: In the small bowl, melt about 1 teaspoon of beeswax. You can do this by adding it to a double boiler or microwaving it in short bursts until melted.
- Add Oils: Add 1 teaspoon of coconut or jojoba oil. Mix it well with the beeswax until combined.
Step 3: Add Color and Thickening Agents
- Mix in Aloe Vera Gel: Stir in 1 tablespoon of aloe vera gel, blending until smooth.
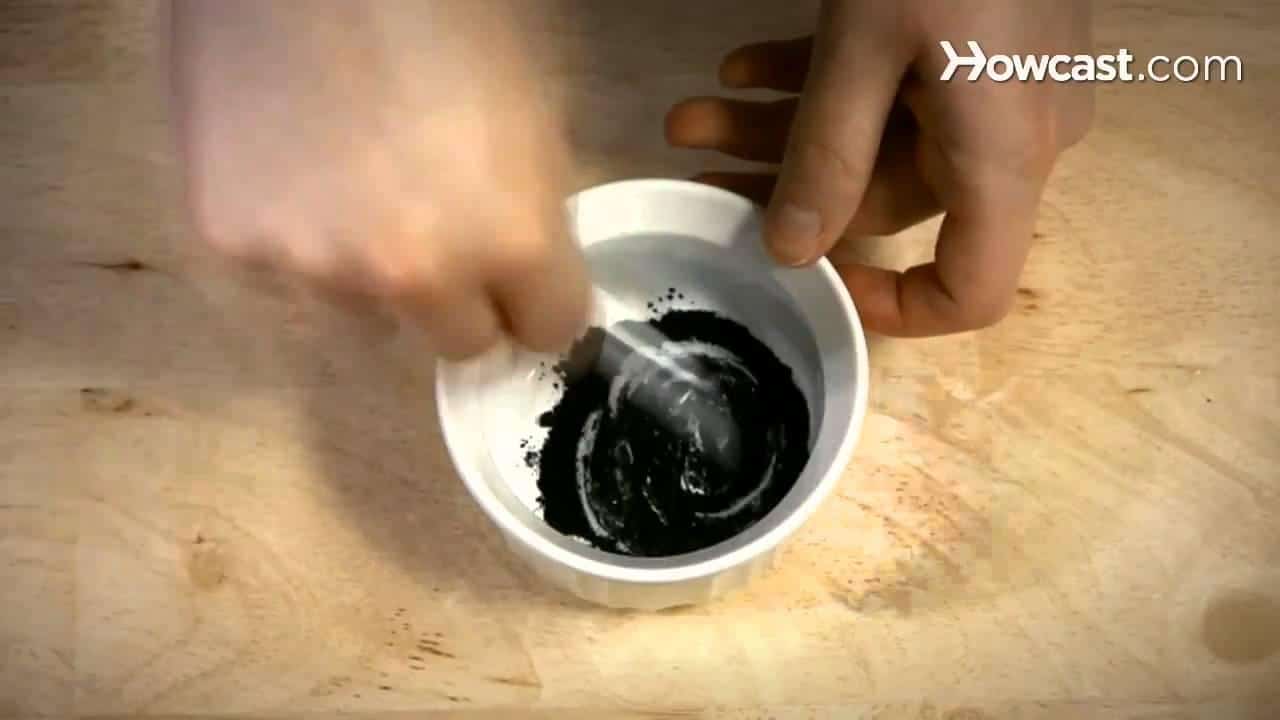
- Incorporate the Color: Add ½ a teaspoon of activated charcoal or cocoa powder, depending on whether you want a black or brown mascara. Mix very well until there are no lumps!
Step 4: Adjust the Consistency
- Thin It Out: Add a few drops of witch hazel or distilled water to achieve a smoother consistency. Start with one drop and keep adding until you reach your desired thickness.
Step 5: Final Touches
- Add Vitamin E or Essential Oils: If desired, drop in a few drops of vitamin E or a scent of your choice.
- Mix Until Smooth: Ensure everything is well blended and there are no clumps.
Step 6: Transfer to Mascara Tube
Using the dropper, carefully pour the mixture into your clean mascara tube. Clean any spills with a tissue!
Step 7: Let It Cool
Seal the tube and let it cool for several hours or overnight to set properly.
How to Store Your Homemade Mascara Safely
To make sure your handmade beauty product doesn’t get funky, it’s essential to store it properly. Keep your homemade mascara in a cool, dry place, and use it within three months for optimal freshness.
Tips for Safe Storage
- Avoid direct sunlight to preserve the ingredients.
- Keep brushes clean to prevent bacteria buildup.
- Test on a small area if unsure about irritation from natural ingredients.
The Benefits of Making Your Own Mascara
Why go through the effort of making your own mascara, you ask? Here are some fabulous reasons:
Personalization
You can customize the formula to your liking! Want a little more volume? Add a splash more aloe vera. Feeling like adding a luxe scent? A drop of vanilla essential oil, and voilà!
Eco-Friendly
Save the planet, one mascara tube at a time! By making your own mascara, you’re cutting down on waste and packaging.
Allergy-Free Options
If you have sensitive eyes or allergies, making your own mascara means you control every single ingredient.
Common Mistakes When Making Mascara
Everyone makes mistakes, and that’s okay! Here are some common traps beauty lovers fall into when learning how to make mascara.
Too Much Beeswax
While wax is essential for staying power, too much can make the formula stiff. Balance is key, darlings!
Forgetting to Blend
Clumpy mascara is a no-go! Be sure to blend thoroughly for a smooth application.
Not Testing the Color
Always test your mascara on a cotton swab before applying it to your lashes. You don’t want any surprises!
How to Apply Your Homemade Mascara
Now that you’ve mastered the art of how to make mascara, let’s get into the application, because what’s the point without those luscious lashes?
Application Steps
- Wiggle at the Roots: Start at the base of your lashes and wiggle the brush as you move upward. This adds volume at the roots.
- Separate and Define: Hold the wand vertically to separate lashes and add length.
- Layer It On: For more drama, wait a minute and apply a second coat.
Pro Tips
- For extra curl, use a lash curler before applying your homemade goodness.
- Don’t go too wild with excess product; less is more for natural looks.
Cleanup Routine
Use coconut oil or your favorite makeup remover for effortless cleansing at the end of the day!
Conclusion
Now you’re armed with everything you need to conquer the world of beauty with your very own homemade mascara! Who knew that learning how to make mascara could be so entertaining and rewarding? Embrace your inner beauty guru and strut your lashes with pride! Remember, practice makes perfect, and soon you’ll be a pro at creating your customized mascara. Enjoy the journey and keep the lashes fabulous!
For an even deeper dive into natural beauty and recipes, check out some tips on making your own cosmetics for a complete beauty overhaul, or visit this guide on the benefits of natural beauty products! Your beauty regimen will never be the same again! Happy crafting!